Art Lesson 54, Part 3
Discover How to Paint a Portrait
Learn how to paint like the Old Masters!
Old Masters Academy Online Course
Self-study, self-paced online video courseLifetime membershipOne-time payment: $487Enroll Now!Personal Tutoring online + Online Course
Unlimited tutoring by the Academy teachersLifetime membershipOne-time payment: $997Enroll Now!« Back to the Art Lessons List
How to Paint Eyes in a Portrait
Little by little the portrait is shaping up. And in this final part of the video we shall make all the necessary adjustments to the portrait so that to make it complete.

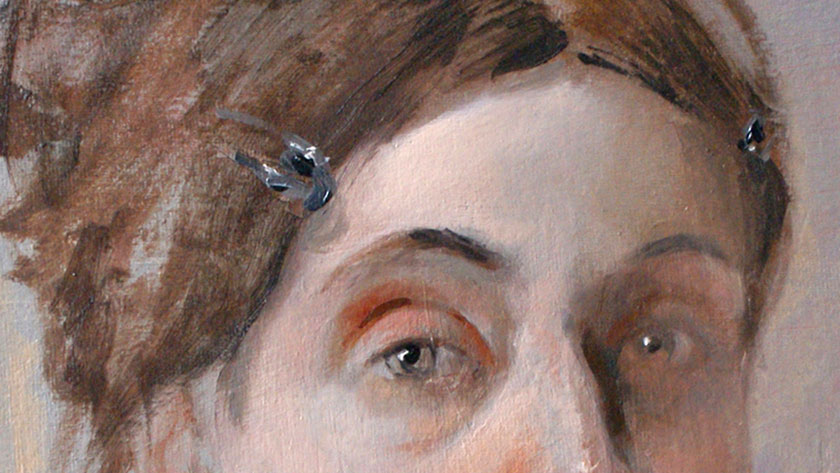
The right part of the face is in the soft half-shade. The right eye fades in the shade. Now we shall work on the shape of the eye and contrast.
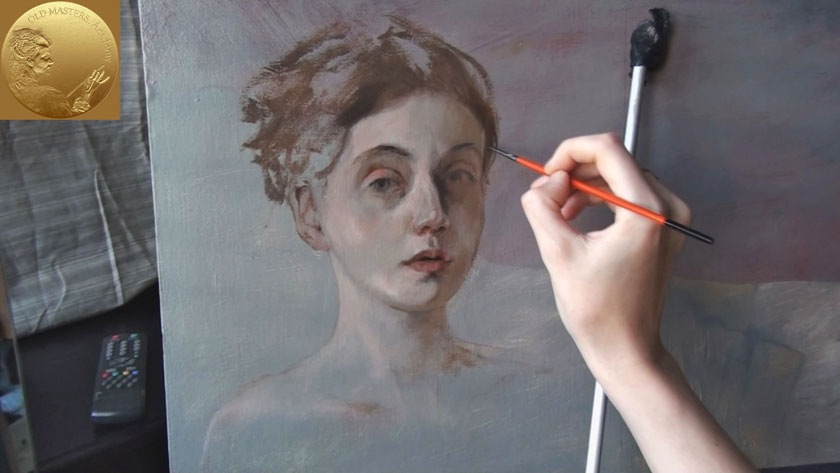
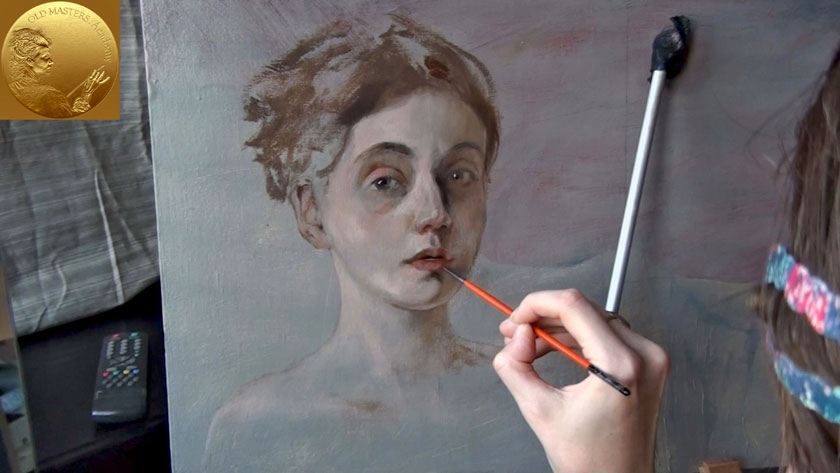
Working at the final stages of the portrait we touch small parts on the face and make the necessary alterations in different places. It would be better to work on the whole portrait at the same time.

We used soft brushes for the portrait. This resulted in the smooth polish surface of the paint layer. Though, it’s better to use a firm brush for hair. The sitter’s hair is painted as a big mass, without details. There’s no need to illustrate separate hair curls or locks.

The accent in the picture is on the sitter’s face. So the neck and the shoulders are simply sketched out. The details of the neck and collar bones are just indicated. The Paint is rubbed with a fingertip in order to spread it, for the paint is hardly visible.
The very final strokes are applied now. The portrait was painted in the way that makes it a quick study.
Here’s the result of our one-séance portrait exercise. However, the minimalistic approach to the portrait study has resulted in the variety of color nuances and tones.


