Art Lesson 46, Part 2
Discover how to make a Portrait Drawing in Flemish Style
Learn how to paint like the Old Masters!
Old Masters Academy Online Course
Self-study, self-paced online video courseLifetime membershipOne-time payment: $487Enroll Now!Personal Tutoring online + Online Course
Unlimited tutoring by the Academy teachersLifetime membershipOne-time payment: $997Enroll Now!« Back to the Art Lessons List
How to Transfer Sketch to Drawing Paper
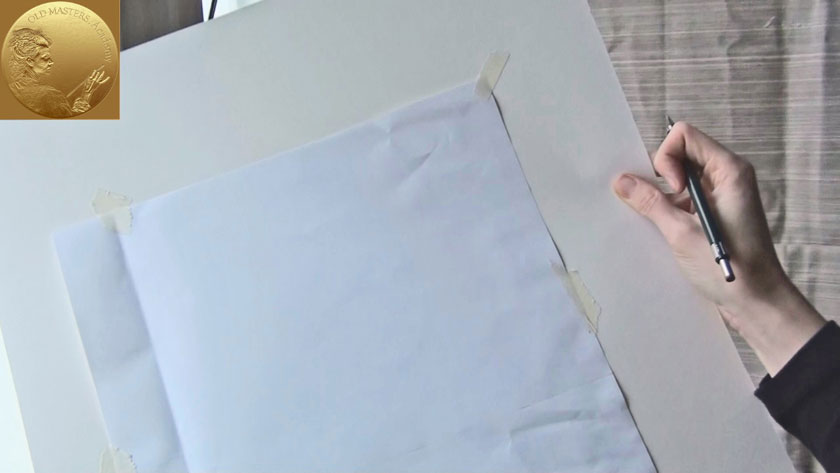
One of the ways to transfer the outline on high quality paper for further drawing is to use window. Attach your high quality paper on top of the draft drawing with masking tape. Make sure that your masking tape is not too old otherwise its glue might damage the paper surface of your original drawing. Before applying the masking tape test it by sticking on separate piece of paper and see what happens when taking it off.
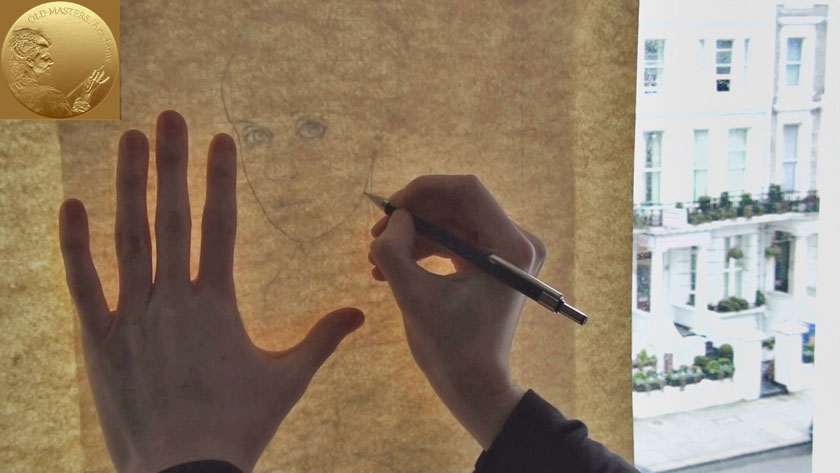
Be very careful outlining the drawing. On transparent paper you couldn’t see how strong the outline is. Control the force when pressing your pencil on a paper to avoid grooves. It’s better to use soft pencil for outlining the drawing. To test, start with outlining less important places of your drawing, part of dress for example; to be certain that you are choose right pencil softness and applying optimal pressure just take off the paper from the window and check the result of your first lines. If you are not satisfied press lighter or choose another pencil. This test will help avoid unexpected surprises.
You have outlined your drawing. If your outlines are too visible – erase unwanted lines with kneaded eraser. Leave slightly visible lines just to guide you, not to dominate the drawing. The kneaded eraser is usually made of a grey or pliable material that resembles putty or gum. It functions by “absorbing” and “picking up” graphite and charcoal particles. And what is the great advantage of it – kneaded eraser is not produce a dust. You can find them at any special art suppliers shop.
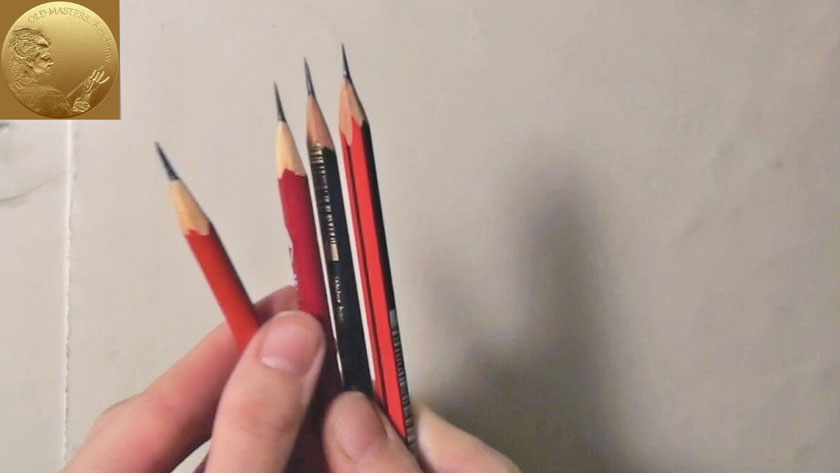
For this particular task you need different softness and hardness pencils, the better choice is HB, B2, B6 and one hard pencil H2. Each pencil will play its role in creating your fine drawing. Sharpen pencils tapered before starting your drawing.
How to sharpen your pencils correctly? This isn’t a professional way of dealing with your pencils. Leave these pencil sharpeners for kids and office workers. At the end of using such tool the result appears very poor – one side of the pencil might be sharpen well; on the other side covering wood may remain untouchable. It’s not possible to produce high quality drawing with such pencils.
Sharpen your pencils with a sharp knife. Hold the pencil, pointing the lead tip away from your body, with your non-dominant hand. (If you are right-handed, hold the pencil with your left hand.) Hold a knife or blade in your dominant hand. Place the blade about an inch above the lead at a 25 degree angle. Point the blade away from your body! Apply light pressure and stroke the blade outward and down. You will get so called “needle point”. The pencil with such a fine point can wear down a long way before it actually becomes too blunt to use. With such pencils you will have precise control over your lines and fine elements.
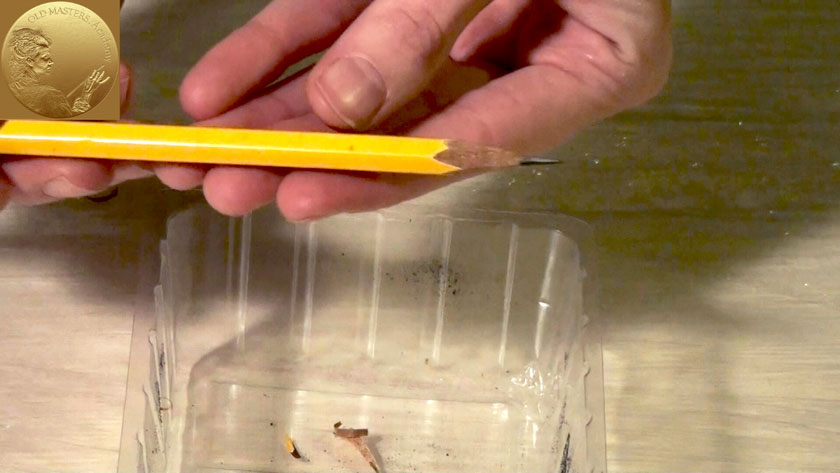
The tip of the pencil should be sharp, make sure that the blade on your knife isn’t blunt. Change blades regularly, sharpening with new blades is easier and more pleasant. For each drawing session prepare more than one pencil of each softness. Your pencils should be from good reliable manufacturer, it’s hard to expect good results from pencils purchasing in office stationary shop.


