Art Lesson 31, Part 6
How to apply an Underpainting in Colors
Learn how to paint like the Old Masters!
Old Masters Academy Online Course
Self-study, self-paced online video courseLifetime membershipOne-time payment: $487Enroll Now!Personal Tutoring online + Online Course
Unlimited tutoring by the Academy teachersLifetime membershipOne-time payment: $997Enroll Now!« Back to the Art Lessons List
Underpainting in Colors
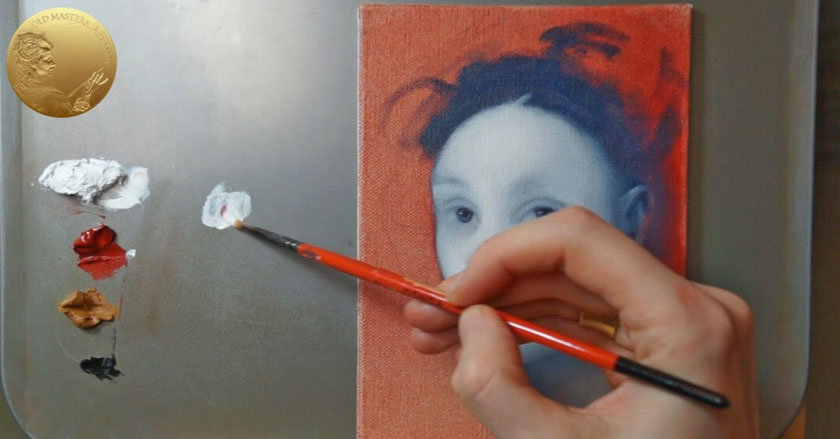
We have reached the new stage of the painting process – we proceed from Dead Coloring to Full-Color painting. We admix Red and Yellow to White for the lightest areas of the face. Then, we mix Red with Yellow for hair mass and for outlining the shape of eyes, lips and nose. Our outlines are quite rough, but they will later be modified.

We take a clean soft Brush and spread the outlines, making a smooth transition into half-shaded zones. As you see, the shape of the facial features become more pronounced.
Before we continue to work on the face oval and its silhouette, let’s set up a background color. We apply the dark grey paint with a stiff Hog Brush. We apply the paint, leaving an empty space next to the face silhouette.
Now, it would be easier to turn the canvas upside down to have a more comfortable position to control our brush work. This helps, unless you are a left-handed; in this case, everything will work for you in a contrary way.
We proceed with the skin color – we cover the blue Underpainting with a thin film of paint. In some places, that blue Dead Color can be even slightly visible – it adds necessary cold nuances to the skin. We also need to adjust the face silhouette. To do so, we need a clean soft brush, which we use for gentle blending and smoothing of the skin and background color on the border.
We finish our Color Underpainting with highlights, which we do with pure White. It flexibly blends with previously applied wet paint, creating a smooth color transition. In the next Video Lesson, we pay attention to the details in the painting.


