Art Lesson 41, Part 5
Discover how to Paint a Cloudy Sky and Mountains in Oil
Learn how to paint like the Old Masters!
Old Masters Academy Online Course
Self-study, self-paced online video courseLifetime membershipOne-time payment: $487Enroll Now!Personal Tutoring online + Online Course
Unlimited tutoring by the Academy teachersLifetime membershipOne-time payment: $997Enroll Now!« Back to the Art Lessons List
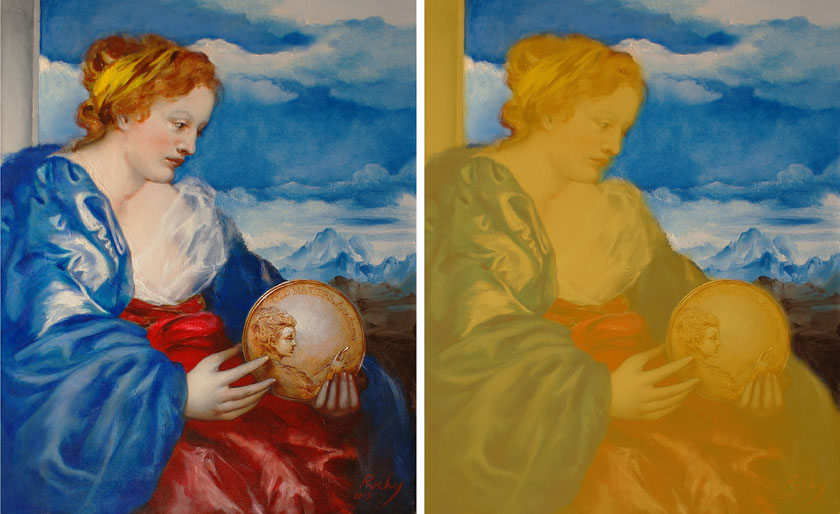
How to Paint a Cloudy Sky and Mountains in Oil
When brown background has dried, we can start the color painting of the sky.

Session One
We mix Titanium White with a little bit of Mars Black. The color mix can be tested on the canvas. Then a darker mix is prepared, by adding more Mars Black to White.
Our task is to create the approximate shape of the clouds. We make up the design on the go, relying on intuition. Later on, we will work on them more carefully. An unthinned mix of paint is being rubbed into the canvas with a rigid Hog Brush. The thickness of the layer is varied. In some places, the paint is applied thickly and in others it is rubbed using the Dry Brush method.
When we set up the tonal values of the sky, we can also add highlights. That’s enough for the first session, now we have to wait till the paint dries.
Session Two
When the surface is well dried, we continue with the sky. More pure Titanium White is added using the Dry Brush method. No Medium is added and no other color is added to the mixture at this point. We are preparing a base for the sky painting.

Our clouds are gradually taking shape. We continue to build up the thickness of the paint layers. That is all for this session; we now set the painting aside to dry.
Session Three
When the surface is well dried, we continue with the sky painting. We mix Titanium White with Ultramarine. No Medium is added, in order to keep our paint thicker. We apply the paint more or less densely to overlay the brownish background.
At this stage, we also build up the volume of the clouds, using pure Titanium White. There is a limit to how thick you can apply your paint layer. The thicker the layer is, the less control you have over it. That is why it is more effective to build up the thickness of the paint in multiple layers; applying a new portion of paint over previous layers that are well-dried. This way, you will have more control over rendering the picture and you can also achieve greater opacity as opposed to having just one impasto paint layer.
At this point, we leave the painting to dry and continue building up the volume of the clouds in the next session of painting.
Session Four
After the surface becomes dry, we continue to increase the thickness and opacity of layers. We apply pure unthinned Titanium White, then put the painting aside to dry.
Session Five
We continue when the surface is dry. Again, we use a simple mix of Titanium White and Ultramarine. The tonal value of the sky can be lightened by overpainting with this light mix of paint. There is no Medium required at this stage – we need the paint to be dense and opaque.
Titanium White has great covering power.
Session Six
We proceed over a dry surface. I have decided to adjust the sky view and remove this cloud. For this, I cut away the thick sharp borders with a palette knife. The paint is well dried, but it has not petrified yet, so you can easily scrape it off to smooth out the surface.
Now the surface is ready to be overpainted. We also add additional volume to the clouds. We apply Titanium White thickly, then spread the paint with a soft, flat brush.
Session Seven
When the surface is well dried, we can continue with our painting. Once again, we increase the thickness and volume of the clouds. The lower part of the painting should be amended as well. We overlap the dark background with Titanium White using the Dry Brush method.
Session Eight
We continue over the dry surface. During this session, we will establish the lower part of the sky and a landscape receding into the distance.

First, the canvas is covered with pure unthinned Titanium White. At the same time, we proceed with blue nuances in the sky. We take Phthalo Blue, add Stand Oil, preferably walnut oil, to reduce yellowing over time. Try this Glaze, and if it feels too transparent, add more paint to it. Now, it is intense enough.
After the Glaze layer is applied, we can spread it more evenly with a large Hog Brush. The final shape of the clouds is established by painting over with the Dry Brush.
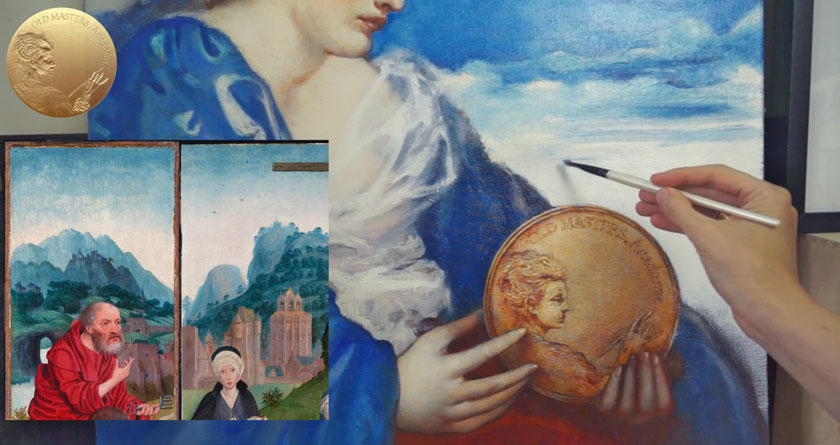
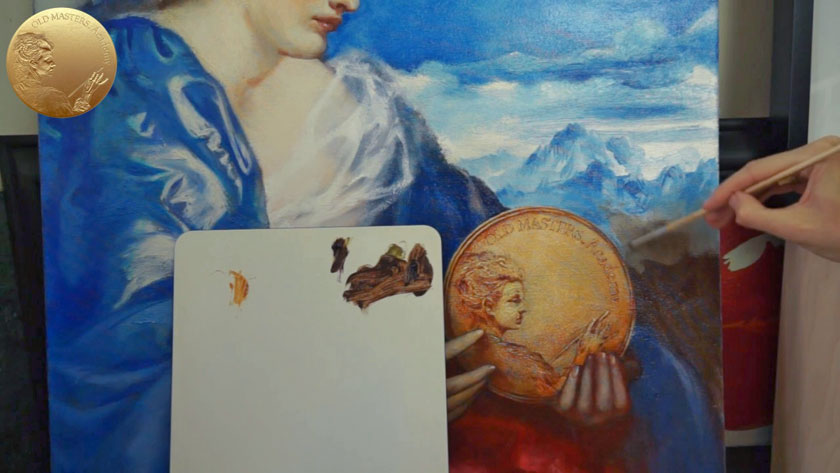
While the white paint is still wet, we proceed with the landscape. By using the same Phthalo Blue paint and a flat Synthetic Brush, we indicate the mountainous scenery. The landscape is imaginary, it reminds views painted by Renaissance masters. We can use images as a reference for inspiration.
This is pure improvisation; however, we should remember aerial perspective and paint distant objects more vague and more pale.
A flat brush is very suitable for making sharp strokes. The blue paint is intermixed with wet, white paint on the canvas. This is the only place in the composition that is painted without glazings using the direct method.
Here, in the lower part, we paint a sketchy landscape. I have decided that the paint layer is too thick, so I scrape the excess paint with a palette knife. Then we use Burnt Umber without any Medium to block-in the area of landscape. According to the aerial perspective, landscape planes that are further away are lighter in tone and bluer in color. To depict them, we intermix Burnt Umber with white, which is still wet on the canvas. We can also add a bit of white-blue mix, that was used for the mountains and sky.
We can say that this part of the painting is done in the Alla-Prima. The direct painting method makes the landscape view seems distant. Contrary to optical mixing, this visually brings the passage closer to the viewer.


