Art Lesson 44, Part 9
Discover how to paint a Figure with a still-life in Oils
Learn how to paint like the Old Masters!
Old Masters Academy Online Course
Self-study, self-paced online video courseLifetime membershipOne-time payment: $487Enroll Now!Personal Tutoring online + Online Course
Unlimited tutoring by the Academy teachersLifetime membershipOne-time payment: $997Enroll Now!« Back to the Art Lessons List
Final Stage of Portrait Painting in Oil
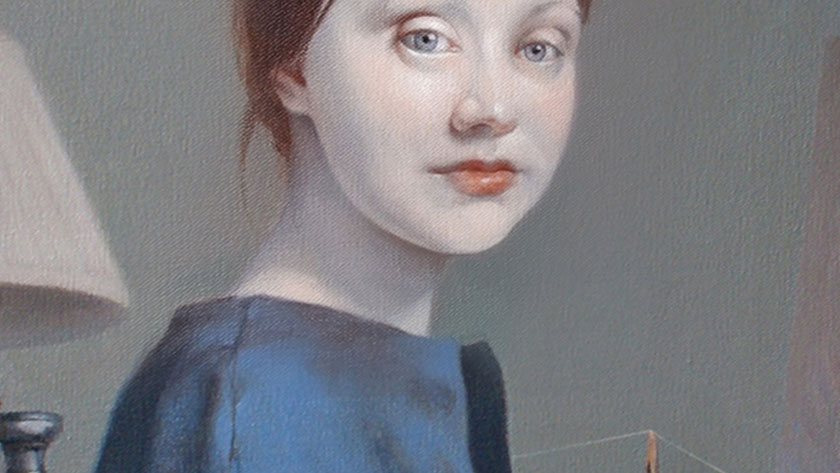
We continue with the portrait by adding warm colors on top of the dead colors layer. We are using pale colors such as a mix of white with Naples Yellow, Buff Titanium, Scarlet Lake, a tiny amount of Burnt Sienna, and any other colors you think would be suitable in your particular case.
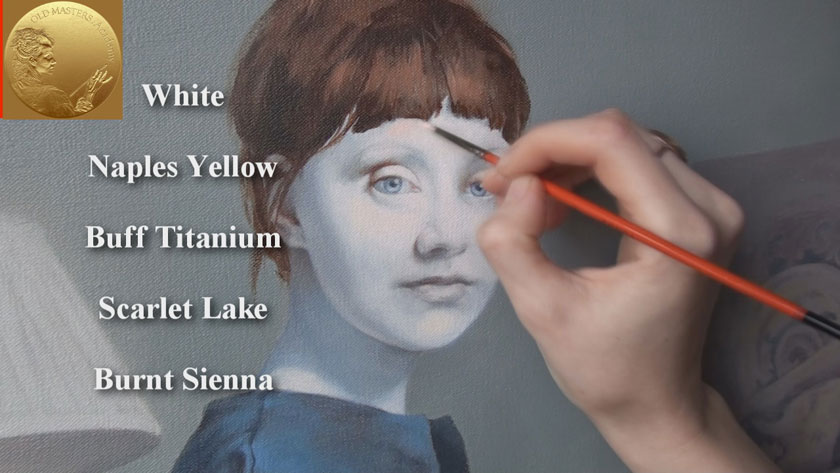
The work is continued on the whole face at the same time. Little by little, you can progress with eyes, chin, lips, cheeks, and neck. There is no need to concentrate on and finish just one part of the face at a time. By working with all parts gradually and comparing colors and tones to each other repeatedly, we can ensure good progress and develop our skills.
The longer we spend painting the face, the more realistic are the colors that appear on the painting. There’s no reason to cover all dead colors in one go. Painting in multiple layers is done in phases and requires a certain discipline. At this point we’re applying very thin layers one on top of another and we will return to already painted places from time to time. These layers can be transparent and semi-transparent. The face is the most important part of the painting and we’re working with dedication and accuracy on this task. For this purpose we’re choosing good quality sable brushes with soft hair. You can also use less expensive brushes made from synthetic hair, which are the equivalent of sable brushes. These days you can easily find the alternatives to sable brushes in art supply stores. The synthetic hair lasts even longer than sable and produces very similar results in terms of brushstrokes.
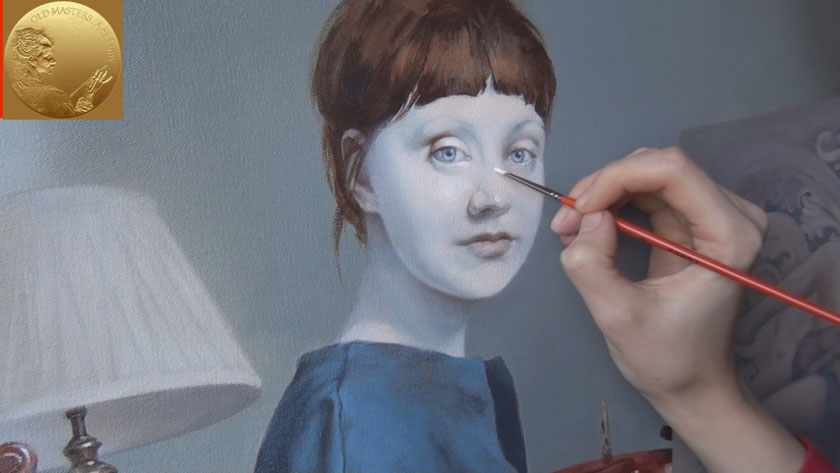
When you are working for a long time on the same object your vision becomes used to that object and you may lose the freshness of the view. It is therefore advisable to change your concentration from one area of the painting to another once in a while, or just take a break occasionally to rest your eyes from that portion of the artwork. To get a fresh appreciation of your artwork-in-progress and to perceive it more objectively, you can use several tricks.
For example, you can take a short break from painting and spend a few minutes looking upon your favorite masterpieces from great fine artists. Then suddenly turn back to your painting and analyse what is good or needs to be improved in the artwork. The first moment of looking back at the painting gives a true and fresh impression of the work. If you notice some areas that need to be improved, this is a good indication of your artistic growth and development. You will know what you would like to achieve through practicing your painting technique.
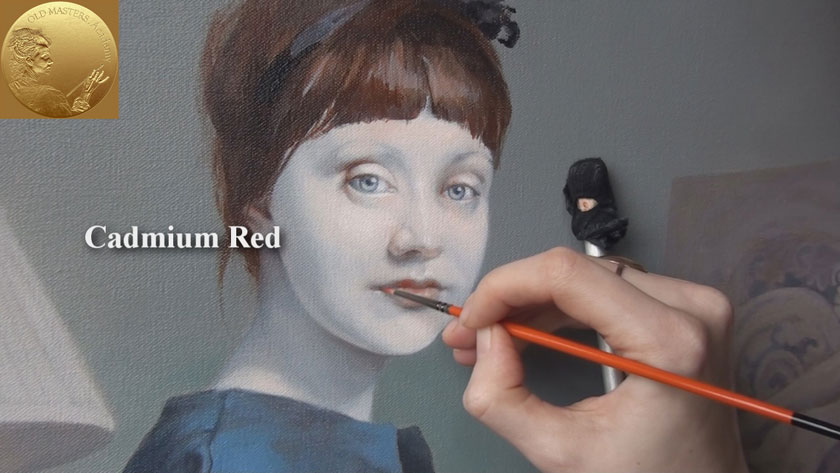
One more transparent layer of the lips is done with Cadmium Red. The classical glazing was usually done with Linseed Oil. These days you can replace Linseed Oil with a modern medium – Liquin. Both mediums are very suitable for glazing. Using Linseed Oil or Liquin increases transparency of the paint layer and improves the flow of color. There are some differences, however. The Linseed Oil prolongs the drying time of the color layer. Also, a high number of glazing layers mixed with Linseed Oil would lead to an overdose of the oil on the painting surface, which can result in colors yellowing over time.
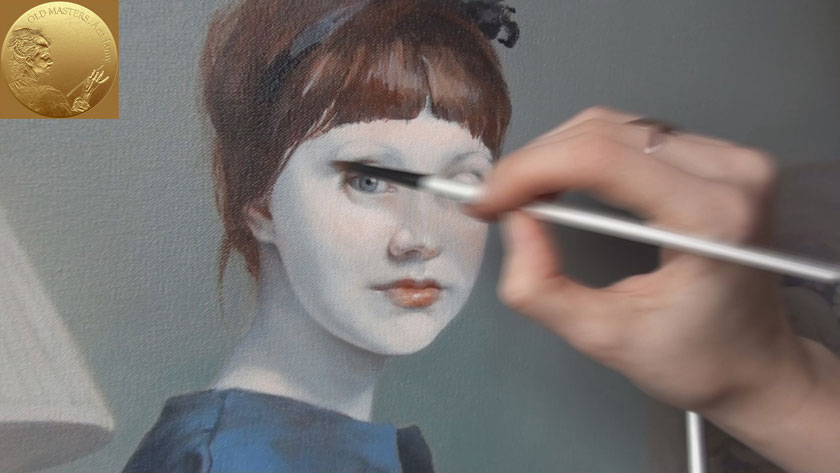
The Liquin, on the other hand, cuts the drying time almost in half. You should try both mediums on two different works to get accustomed to the feeling of each because they differ in consistency as well.
The face is almost ready. It’s time now to put some finishing touches on darker areas of the face. This is done best using glazing. The finishing brushstrokes on the upper and lower eyelids and pupils, the darkest areas of the face, are made in cold-blue color. The tear duct is glazed with transparent red-orange paint. You may notice that the scleras also have a shape and are lightened accordingly.
At the very end, the highlight is painted on the nose. White and a tiny bit of Burnt Sienna are used to make an off-white nuance. The highlight is painted as a blurred, uneven line.


