Art Lesson 44, Part 1
Discover how to paint a Figure with a still-life in Oils
Learn how to paint like the Old Masters!
Old Masters Academy Online Course
Self-study, self-paced online video courseLifetime membershipOne-time payment: $487Enroll Now!Personal Tutoring online + Online Course
Unlimited tutoring by the Academy teachersLifetime membershipOne-time payment: $997Enroll Now!« Back to the Art Lessons List
Grisaille Underpainting Technique
In this video you are going to discover how to create an oil painting that was made in the style of an 18th century Paris salon. This style is characteristically refined and stylized; it’s also poetical and idealistic at the same time. The subjects for salon paintings used to be peaceful and idyllic scenes from the past and ancient mythology, but may also be contemporary, however well refined topics.
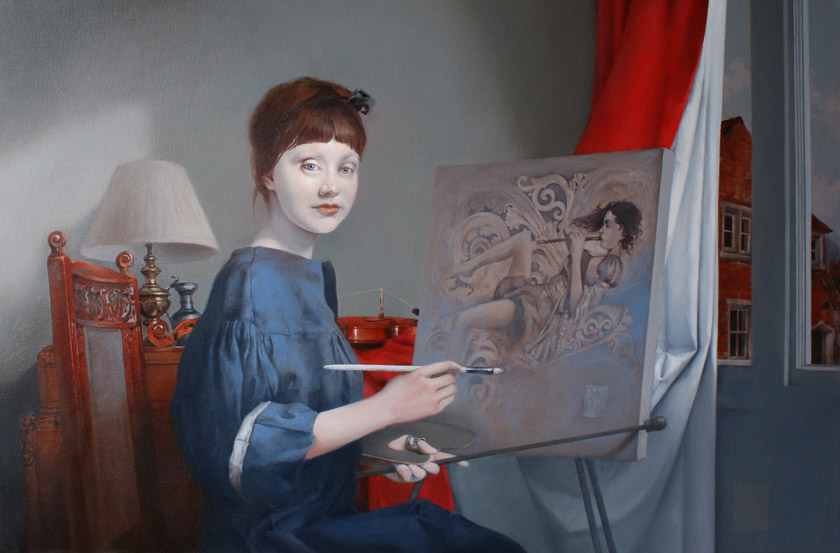
For this particular painting the canvas was prepared in middle tone – a warm grey color. The grey tint was chosen to serve as a middle tone of the painting background. After that, the drawing was painted on top of the background in monochrome. The brown sketch was done using Vandyke Brown oil paint. Turpentine was used as a medium at this stage.
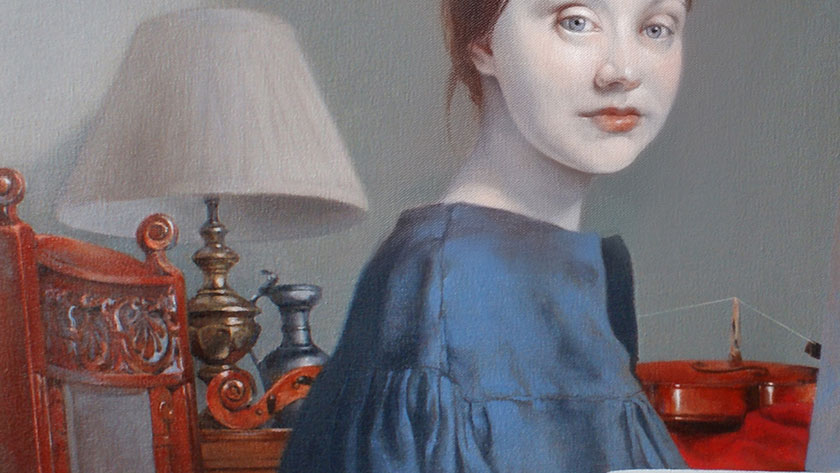
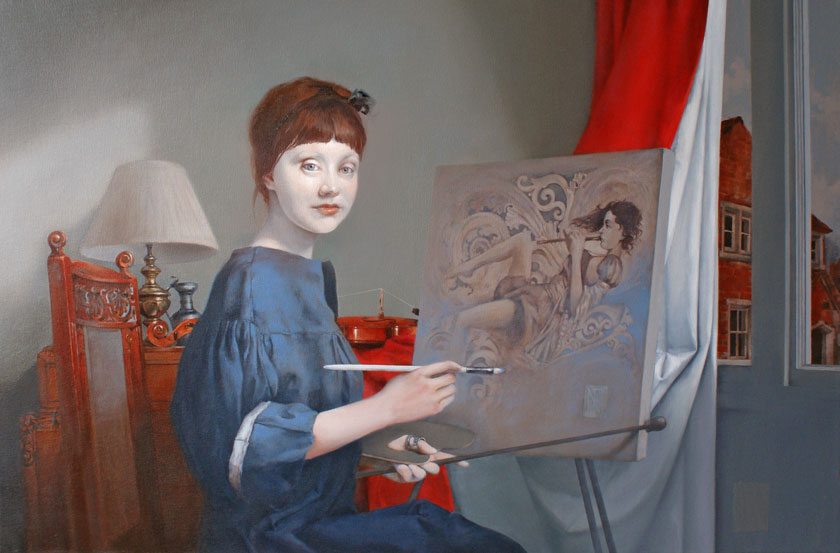
In this situation, the under-painting was completed beforehand and has dried for more than a year. To increase the adhesion between completely dried under-painting and the following layers of oil, it’s a good idea to sandpaper the top film of the painting with very fine sandpaper, gently opening the pores of dry film. This will help the painting to absorb the medium of the next layers and strongly glue layers to each other.
The dust can be removed with a piece of soft fabric. There is no need to wet the fabric unless you want to clean the painting very thoroughly and wait a day or so for the canvas to dry.
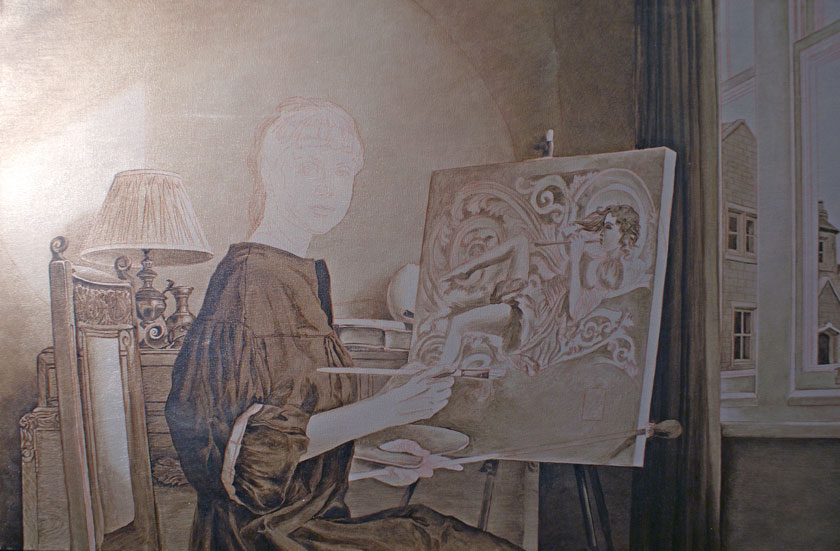
And now you are about to discover the Old Masters’ trick – using garlic as a medium to increase adhesiveness between dry and new layers of oil paint. The garlic juice has very interesting and useful qualities. First, it has strong antibacterial attributes to ensure your old oil layer will survive for hundreds of years to come. But more importantly, garlic juice is a super-glue for oil paint. You can test it yourself – just put it on your fingertips and press your fingers together. By the way, garlic juice was used centuries ago to glue golden foil sheets on Russian icons, which have survived in good condition to the present day.
Peel a garlic clove, cut it in half and apply it gently on the painting surface. The video is in fast motion; you should do it slowly. Also, be careful not to damage the canvas with brute force. When required, cut the clove once again and continue with a fresh slice.
You can also crosscut the piece of garlic for more juice. Check how fingers are sticking to the canvas. Remove small bits of garlic left on the canvas with a painting knife.
To dilute and evenly apply the garlic juice on the surface of the painting, you can use volatile solvents like White Spirit. Both garlic juice and white spirit will mix together and penetrate into open pores of the paint layer. Use a medium-to-wide soft brush to apply the white spirit. Make sure the spirit evaporates before you proceed to painting.
Of course you can skip the garlic application if your painting has shorter periods of inactivity between layers. Use it only when the previous oil layer has been dry for many months. When the surface is thoroughly prepared, we continue with the painting. This artwork will be created with the multi-layers technique, where colors will be used only after all preparation with underlying drawings is in place.
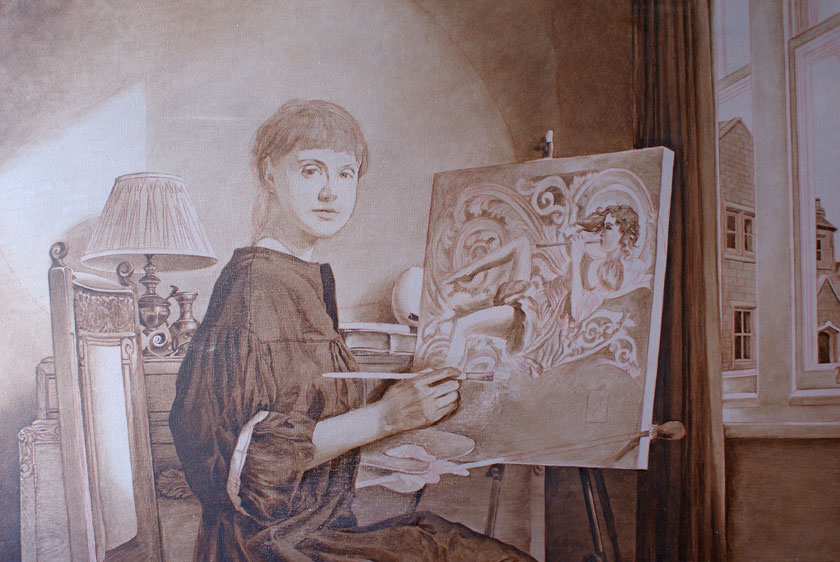
We now can progress with the painting in semi-transparent Raw Umber and Vandyke Brown, using any volatile solvent such as Spirit or Turpentine. You can also add Varnish or Liquin to the mixture if you want. However, it would be better to avoid linseed or other oils as a medium for the initial stages of painting. Oil mediums will be used later, thus following the rule “Fat over lean.” While we do details in brown colors I will explain a few things about the multi-layer technique.
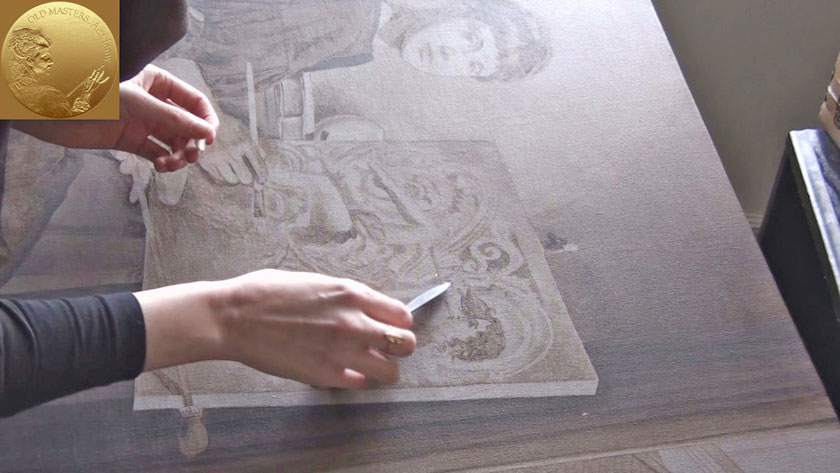
The multi-layer way of painting was used for centuries, starting more than 500 years ago. It requires some discipline, but the time-proven technique will provide great results if you follow the rules. Follow all stages of artwork creation one by one without skipping or mixing stages. Here’s the sequence:
First, you should decide on the composition of your painting and prepare sketches and drawings with the full details of your future piece. Using this particular multi-layer technique, it would be quite challenging to change the composition of the painting dramatically, so take your time and think about all objects, figures, interior elements, and exterior elements. Make sure you are happy with the composition and only then continue with the final preparatory drawing.
The next step would be creating the original scale drawing on paper and transferring it to the canvas. You can use many different methods to transfer the drawing. Old masters often made multiple holes with a needle along the contours of the drawing and then used charcoal powder through the perforated paper to reproduce the drawing in dots on the canvas. There are other less time-consuming techniques of drawing transfer which will be illustrated in the next Web Art Academy videos.
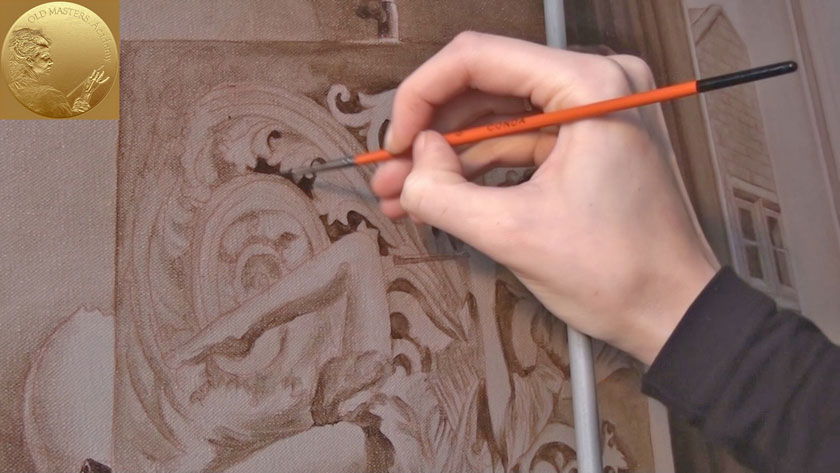
When the drawing is on the canvas, you should fix it by drawing over it with a thin brush and brown or grey paint. This will protect your fragile drawing from being smudged or completely lost by accidental wiping. Some old painters used oil paint for drawing outlines, and sometimes tempera or mineral inks were used instead. You can choose any paint you feel comfortable drawing with; it will be completely covered by later layers of paint anyway.
There are three ways to make an under-painting in combination with canvas tint:
- Use white or very light canvas;
- Paint on grey or medium tone brownish canvas;
- Use dark painted canvas.
All three methods are equally good and were used by various fine artists throughout the centuries. For this particular painting the mid-tone brown background was chosen. All shadows were darker than the background and lights are lighter, thus giving greater control over the tone of the whole painting.


