Art Lesson 44, Part 6
Discover how to paint a Figure with a still-life in Oils
Learn how to paint like the Old Masters!
Old Masters Academy Online Course
Self-study, self-paced online video courseLifetime membershipOne-time payment: $487Enroll Now!Personal Tutoring online + Online Course
Unlimited tutoring by the Academy teachersLifetime membershipOne-time payment: $997Enroll Now!« Back to the Art Lessons List
How to Paint a Still Life With Violin in Oils
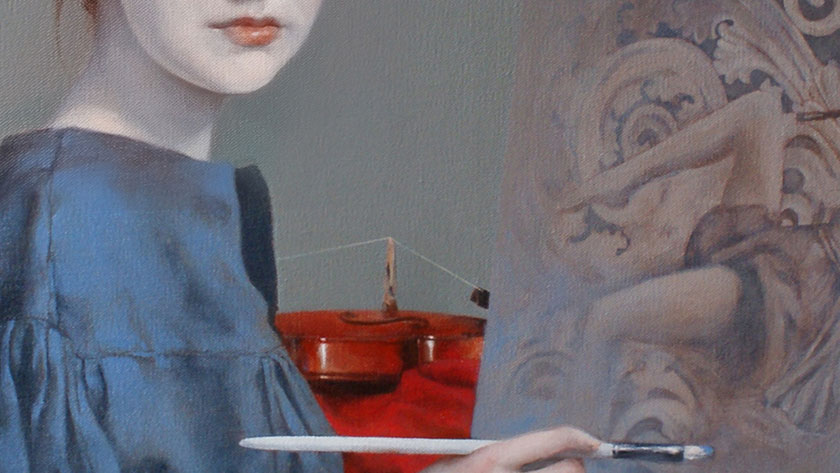
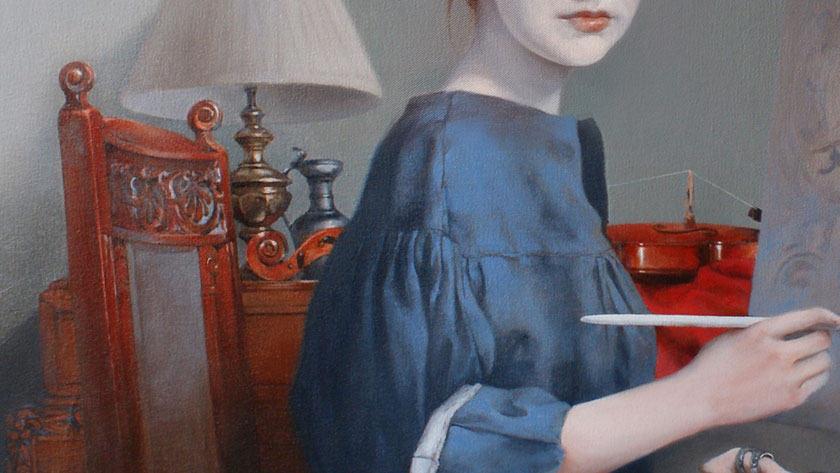
The violin has a beautiful shape and color, and various fine artists have often included this musical instrument in their still-lifes. The wooden violin has a similar color to the wooden chair; however, the varnished surface makes this object quite different. The varnished violin has the warmth of the wood and the shine of metal. You can appreciate how elegant its shapes are just by the combination of tones and contrasts. The position of the violin is not the easiest to illustrate – lying on the table, it is only partly visible from the side, so all shapes need to be revealed by shade gradations and highlights.

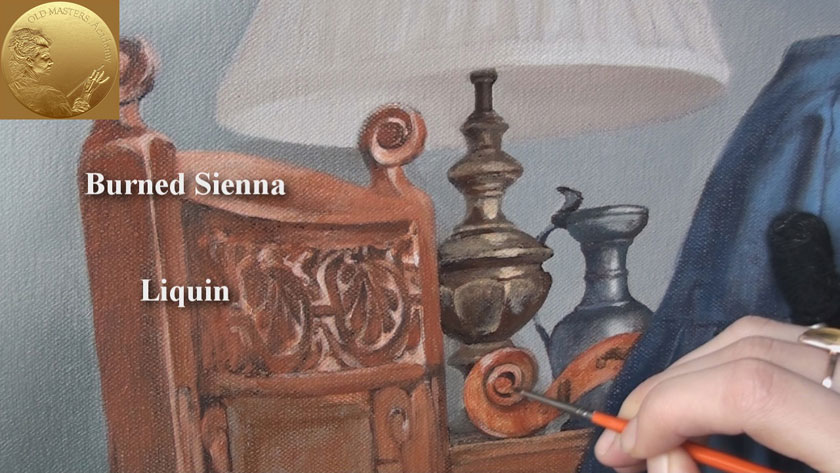
Using the under-painting as a base, we again start to work with colors on the light areas of the wooden surface. This is very similar to how the chair was painted. The Titanium White, mixed with Burned Sienna plus Yellow Ochre, is chosen for light surfaces. This mix is applied thinly with a gradual transition to the background color. This is done intentionally, as we are planning to continue with the glazing method for the violin as well. You remember that when glazing is to be applied, it’s always better to use shades slightly lighter than the end result should be, because glazing will darken the surface of the painting and absorb the light.
Always make sure that the paint layer is completely dry before going to the next glazing layer. It takes time; however, you can work on another part of the painting or even on a different painting while the oil paint is drying. When the violin part of the painting is dry, it’s time to continue with glazing. We are using warm reddish colors to glaze the violin. This color is suited for natural wooden surfaces and adds character. Burned Sienna diluted in Liquin is used for this purpose.
You can experiment with other colors as well. Generally, transparent and semi-transparent oil paints are good for glazing. As a medium for glazing, you can use a mixture of Dammar Resin with Turpentine and Linseed Oil. You may consider adding a bit of varnish to improve the transparency and viscosity of the glaze medium. When the layer is dry, we can proceed with violin highlights and shadows over the basic colors. The trick is to keep the base violin colors visible and only work on deepening the shadows and brightening the highlights. It’s easier to decide how much darker or lighter shadows and highlights need to be when the middle tone is already established in color and strength. At the same time, it’s always good to keep an eye on the larger picture, comparing colors and tones of the violin to other objects on the painting.

The preparatory under-painting step now serves the purpose of keeping the whole painting unified. All tone decisions are done, allowing us to work on achieving the right colors and atmospheric effects rather than focusing on both colors and tonal balance at the same time.
It’s best to depict the three-dimensional shape of the violin in its difficult side view with the Chiaroscuro (English pronunciation: /kiˌɑːrəˈskjʊəroʊ/) technique. This method of using high contrasts between light and dark is often used by fine artists when painting the human body. In this case, the violin will benefit from Chiaroscuro to achieve the sense of volume that is required when we are painting three-dimensional objects. The violin body is treated in the same way, using under-painting as a base foundation and applying the lighter tones first with a gradation to dark tones. This is followed by glazing when the previous layers have dried. The same chiaroscuro effect is used here. By using high contrast between light and dark parts of the violin body, we are shaping the violin to achieve its three-dimensional appearance.

The chiaroscuro method is now taken for granted. However, at one time this was a revolutionary advanced step towards realistic painting. Many artists began using this method but many were against it. Some artists intentionally exaggerated the contrast between light and dark for the sake of drama and realism. By the 15th century the chiaroscuro method had become standard practice, and now the transition between light and dark is the base-stone of any contemporary realistic artwork.
The polished violin body has reflections of surrounding objects in addition to its own colors. This adds to the color palette. You can use glazing to achieve this multi-color effect rather than mixing various colors together.
Highlights look especially attractive on the polished wooden body of the violin. Use the proven trick of sharper contrast between light and mid-tones to achieve the curved violin’s polished appearance. There is no reason to be afraid to go too light as you can later apply a glazing layer, which will darken the tone of the light areas.
One more session of glazing and the violin is almost done.


