Art Lesson 44, Part 8
Discover how to paint a Figure with a still-life in Oils
Learn how to paint like the Old Masters!
Old Masters Academy Online Course
Self-study, self-paced online video courseLifetime membershipOne-time payment: $487Enroll Now!Personal Tutoring online + Online Course
Unlimited tutoring by the Academy teachersLifetime membershipOne-time payment: $997Enroll Now!« Back to the Art Lessons List
Painting a Portrait in Grisaille
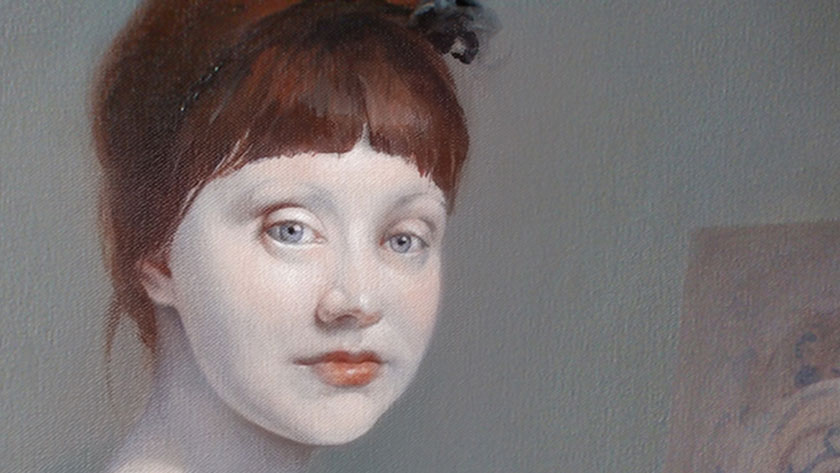
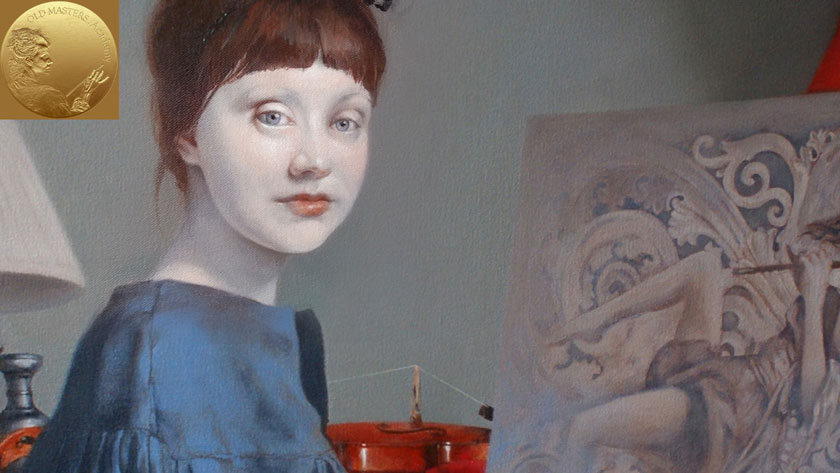
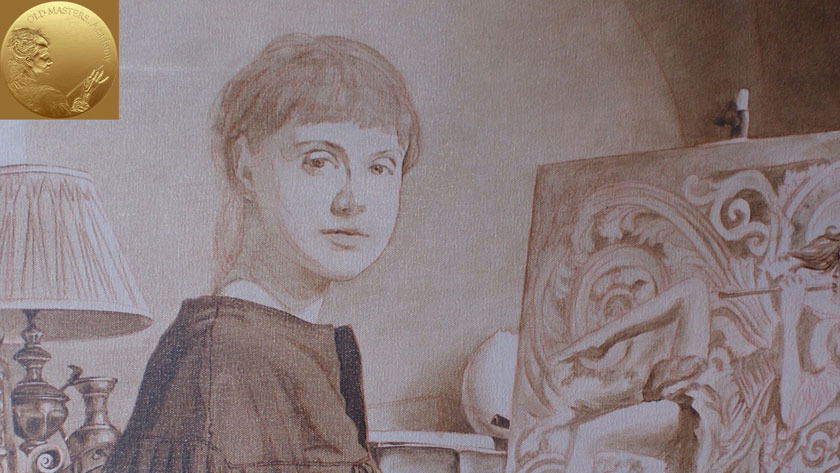
The painting depicts the fine artist sitting in front of her artwork. The artist’s face is the focal point and the most important part of the painting. As you see, the under-painting already portrays the sitter’s face and we can now continue with the second intermediate layer, which is called the “dead color.” The “Dead Color” layer is so named because at this stage the painting will be progressing in cold, light blue colors. This technique is quite popular in fine art practice and has been used for a number of centuries, starting from tempera painting and finding its continuation in oil painting.

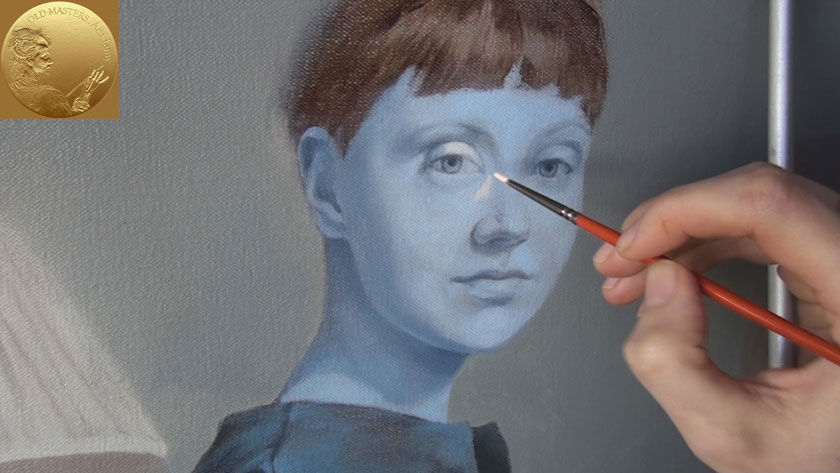
This preparatory layer is required for achieving great effects. When warm layers of paint are placed on top of the Dead Color, causing them to mix optically with the underlying colder colors, they will create nuances that are unachievable by any other means. You can use white paint in combination with French Ultramarine and a very small amount of an earth color such as Vandyke Brown or Raw Umber.
When the dead colors are painted over the under-painting, a thicker layer is applied for the light areas and a thinner layer is applied for darker places. For the darkest places you can even leave the brown under-painting showing through the dead color. To create the shadows of the face, you may reduce the amount of white color and use a mix of French Ultramarine with Vandyke Brown to make shadows darker. Keep dark places semi-transparent using a thinner like Turpentine or Liquine.

The main advantage of using dead color is that you are doing monochromatic painting without worrying at all about the colors of the face. The main task at this stage is to decide on all shapes of the face and make it look three-dimensional by using a very limited palette of cold oil paints.
You may be confused about why we need to paint the face at least three times – we first make an under-painting in brown color, then cover it over with cold dead colors, and then finally continue with the warm colors of the real face.
Yes, it takes time to go through all these stages; however, by doing it this way you will have much greater control of the face colors and shapes. At the end, you will achieve effects of skin transparency and realism that are not possible by other techniques like alla-prima or by just using under-painting and warm colors.

Glazing with warm thin layers on top of the dead colors will provide the depth and transparency that old masters were so good at.
The human body has interesting visual characteristics. For example, the skin gets its color from the blood moving through arteries and veins. Oxygen-rich blood running through millions of arteries gives the flesh-pink tone to the skin and oxygen-poor blood returning to the heart via the veins has a colder color. The combination of both types of blood results in the overall skin tone that is so difficult to portray in oil. Old masters, through generations of trial and error, found the way to trick the human eye was to optically mix cold dead colors with warm glazing over top to depict the realistic appearance of the human body.

Needless to say, such an intricate technique is only required for the human body. Other objects on this painting are done well in a simplified way, using under-painting with color layers on top and a finishing glazing. A thicker layer of light cold paint goes on the lightest areas of the face. The flat, soft, long-haired brush can be used to spread the paint from light to darker areas. A soft transition can be done just with a dry brush. You can periodically wipe it off to continue the transition from light to darker places. When the cold dead color is complete and dry we can proceed to the full color of the portrait.
It’s better to start from the darkest places on the face, where there are shadows. Using a small round brush, we work on places around the eyes and nose. We follow with a dry brush, making a mechanical transition from dark to lighter places.
The same cold dead color technique is used for the sitter’s hands. Starting with a cold mix of white and blue colors, we are shaping the hands and creating lights and shadows. The technique is identical for hands and face because the lightning conditions are very similar.


