Art Lesson 7, Part 2
Find out How to Choose Canvas for Oil Painting
Learn how to paint like the Old Masters!
Old Masters Academy Online Course
Self-study, self-paced online video courseLifetime membershipOne-time payment: $487Enroll Now!Personal Tutoring online + Online Course
Unlimited tutoring by the Academy teachersLifetime membershipOne-time payment: $997Enroll Now!« Back to the Art Lessons List
How to Choose Canvas for Oil Painting
Now, let’s have a look at the best support for our important artworks. Self made Stretched and Primed Canvas – it’s the choice of professionals. I recommend starting a habit of preparing canvases by yourself. Once you have done so, try painting on professionally prepared canvas. You won’t go back to Pre-Stretched Canvas prepared by manufacturers. It is easy to Stretch and Prime Canvas.
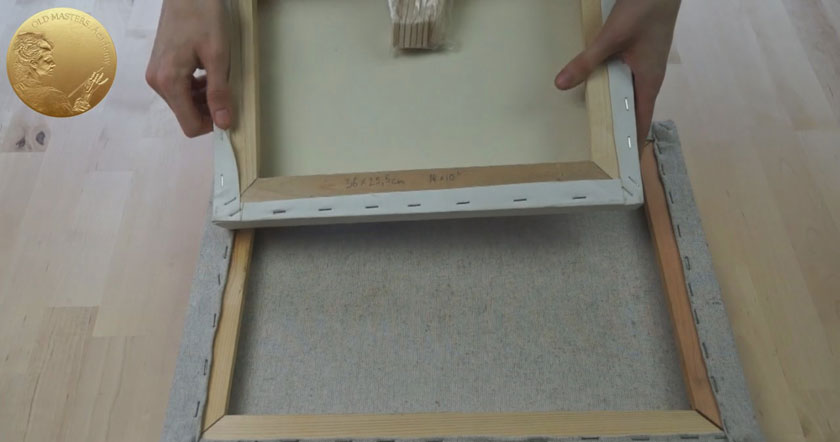
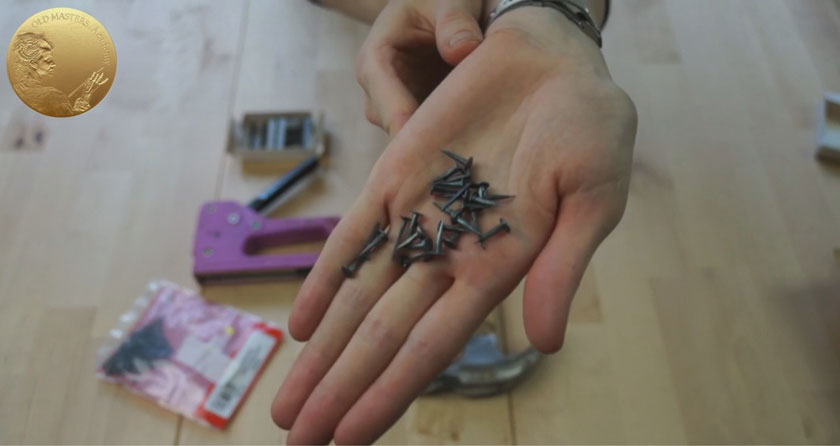
What we need is the following:
- Wooden Stretcher Bars and Cross Braces
- Canvas, preferably Linen. Cotton may also be suitable if you like it
- Scissors
- Measuring tape
- Staple Gun and Staples or canvas nails
- Rubber Hammer or usual Hammer and Carpet Tacks
- Rabbit-Skin Glue
- Gesso
- Wide Flat Brush for decoration works
- Sandpaper
First of all, we have to stretch a canvas on a frame. For this, we need wooden stretchers and a piece of unprimed canvas.
Stretchers
How do we choose stretchers? There are many varieties of stretchers to choose from, we can roughly divide them into three categories: Economy, Mid-Quality, and Super-Professional. Here they are –we take three pairs of stretchers, with the lengths of 25 cm (it’s about 10 inches) Economy, Mid-Quality and Super-Professional quality respectively. As you see, they are quite different in size.
Economy stretchers are lightweight stretchers suitable for small size artworks; canvases over 14 inches (35cm) will be too flimsy, so you need to choose thicker stretchers like these ones – Mid-Quality stretchers. They are Medium Duty and are designed for Mid- and Large-size artworks. They are actually our best choice. They form a stable frame that is strong and reliable –which is exactly what we need. Super-Professional stretchers are very thick Super Heavy Duty stretchers, too robust and heavy and are intended for very huge artworks. However they come in any standard size, starting from quite small sizes. As you can see, we have here a 10 inch (25 cm) pair of stretchers. I understand that “Super-Professional” quality, as they call it, might sound very appealing, but believe me, we do not need such heavy frames, they’ll be very inconvenient and unnecessary.
Let’s summarize: we chose Mid-Quality stretchers; and Economy stretchers for Small artworks up to 14 inches (35cm).
Stretchers can be generally divided into three qualities and price categories.
Mid-Quality stretchers is the best choice for us. We can compare the price for Mid-Quality stretchers with two other options. I took current prices from one of the largest art supply shops in London; do not pay attention to the price, but to the price ratio between these three types of stretchers. What do we see here? That Economy stretchers are nearly two times less expensive, but Super-Professional stretchers are almost twice more expensive.
For artworks of Mid-Size and especially for Large-Size artworks, apart from Stretcher Bars you also need Cross Braces – to add solidity to the frame.
Now we are assembling the stretchers. We place them out on the flat surface. Using our hand, we push the corners together.
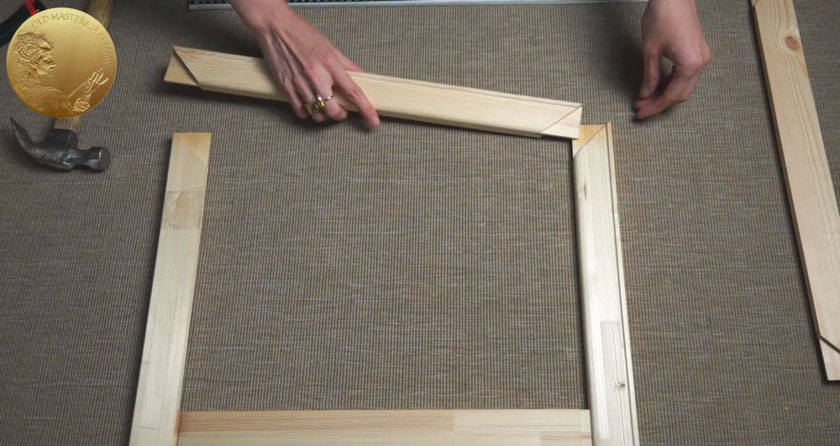
We then gently tap the corners with a Rubber Hammer. If you don’t have one, you can use an average Hammer – but use it very gently to avoid making dents in the wood.
Check that the bars are adjusted at right angles – take the measuring tape or a ruler and check if the diagonal lengths are identical. If they are not, it means your frame is not rectangular, but slightly or heavily trapezoidal. Adjust the angles until they are identical.
Canvas
We need a piece of Canvas, preferably Linen. Cotton is also suitable, if you like it. I personally like the simplest classical type of weave – the Plain Weave, also called Tabby Weave or Linen Weave. Plain Weave Linen Canvases was the most common weave used by the Old Masters, for example Rubens usually preferred Plain Weave Linen.
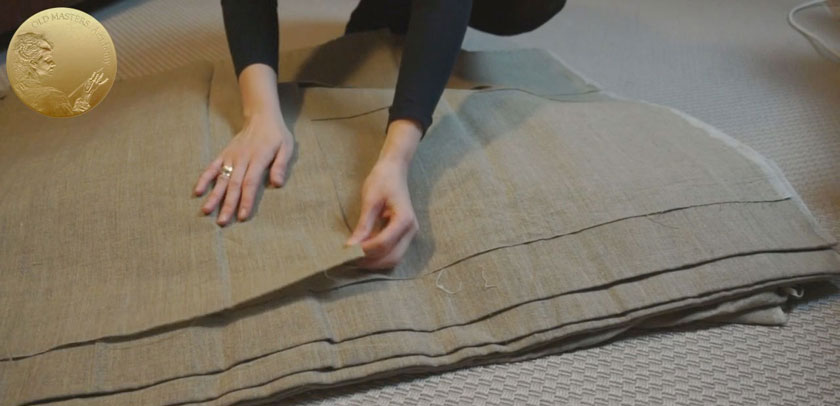
Linen canvases are more expensive and more superior than cotton duck canvases. Linen remains the material of choice for professional painters. Stretched and primed linen canvases are less likely to stretch or shrink, and their threads are less likely to move or deform. You can choose a very fine linen canvas for portrait painting; a fine linen canvas has a very smooth surface that is ideal for painting details. Roll out your canvas, place your frame cantered on top of the canvas and cut it to the required size. Your canvas has to be at least 4 inches (10 cm) larger than the stretchers frame. For example your frame is 20″x20″ (50×50 cm) – you need to cut your canvas sized 24″x24″ (60×60 cm). Make sure you left at least 4 inches (10 cm) from each side. Make sure the weave of the canvas runs parallel to the direction of your stretcher bars. Outline the frame with a soft pencil.
This will be our front side, with the outline. Now we do the following – this outline will be our guide; we will staple the canvas in such a way that all of the lines run parallel to the length of the bar.
This is our end result, you see, canvas waves and an outline are parallel to the bar.
We start to fix the canvas near the corner. Make sure to leave your corners unstapled, about 3 inches (8 cm) away from the very corner. Later, we will neatly fold the canvas on the corners.
Place one staple to secure the canvas. Rotate your canvas to the opposite side. The pattern of sequence is the following: 1, 2, 3, 4, 5, 6, 7 and 8. Now we have a canvas nailed at the corners. The next step is to fix the canvas in the middle.
After the corners and the middle of the canvas are fixed, you can finish stretching randomly. Avoid nailing staples too close to each other; the distance of 3-4 inches (8-10 cm) is optimal. After securing the canvas along the edges, it’s time to fold the corners. We can cut the excess canvas in the corners, fold the material towards the inside like this; and then staple the fold.
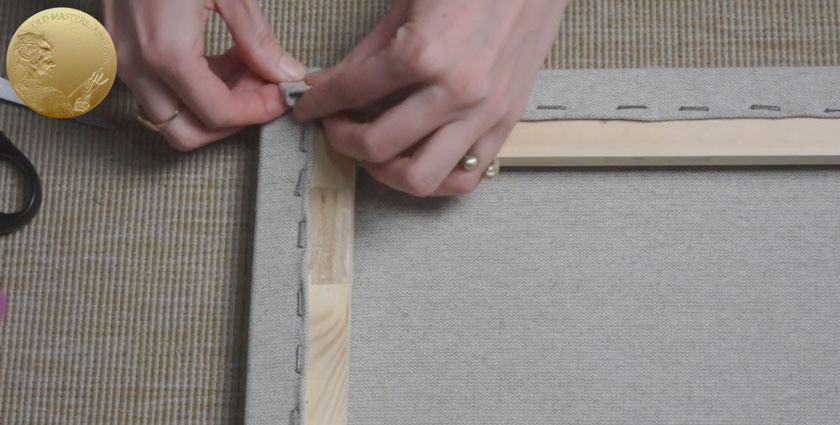
In no case should the canvas be overstretched like a drum. It should be stretched very moderately. After sizing and priming, the tension becomes much tighter. If you overstretch the canvas from the beginning, it can split from excess tension when sized and primed; or deform the frame.
As you may notice, we bent the canvas inside; now our canvas looks neat and professional.
Many artists start stapling from the middle of the sides, then follow the sequence below. Using such a sequence, it is easier to stretch the canvas unevenly. Usually in this scenario the middle of a canvas is overstretched and it is not possible to stretch the canvas at the corners to the same level. My method, the method I have shown you, is classical- it guarantees uniform tension throughout the canvas.


