Art Lesson 52, Part 1
Discover How to Draw in Sanguine on Toned Paper
Learn how to paint like the Old Masters!
Old Masters Academy Online Course
Self-study, self-paced online video courseLifetime membershipOne-time payment: $487Enroll Now!Personal Tutoring online + Online Course
Unlimited tutoring by the Academy teachersLifetime membershipOne-time payment: $997Enroll Now!« Back to the Art Lessons List
How to Shade with Sanguine Pencil
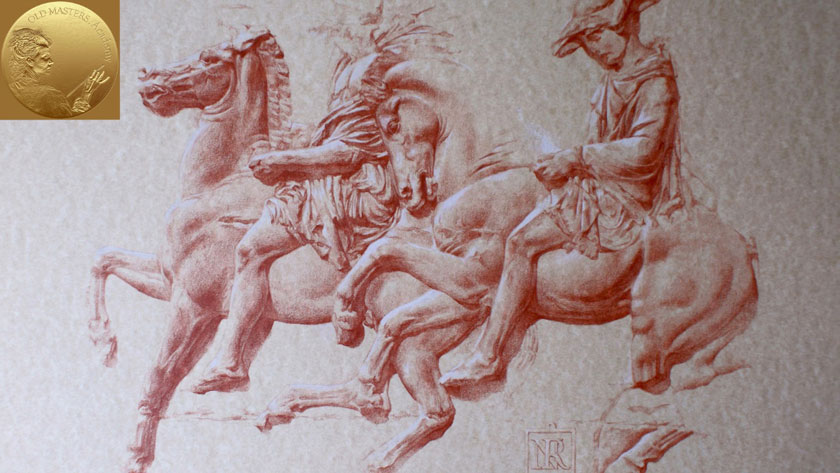
In this video we are going to make a study of a fragment of the Parthenon sculpture in sanguine technique.

We begin with transferring the drawing outline and finish with the white chalk highlighting. For the Parthenon sculpture study we have chosen a good quality, unevenly tinted thick paper, which is very similar in appearance to natural stone.
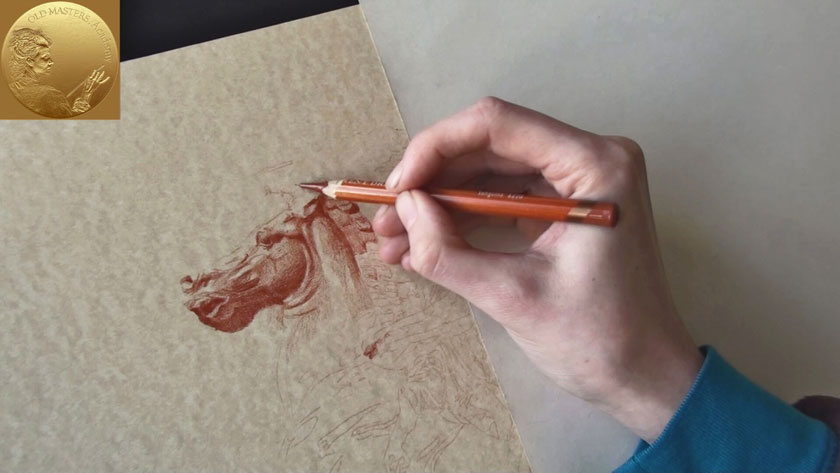
The drawing outline was transferred onto the paper using the following method. A preparatory draft of the drawing was created on a separate piece of thin paper. Then the back of the thin paper was covered in sanguine chalk powder, and this draft drawing was placed on top of the paper where we want to transfer the drawing. Using a sharp pencil we outlined the drawing, thus leaving thin red lines on the thick paper. This drawing transfer method is good when you don’t want to spoil the quality of the paper surface where the final sanguine drawing will be. You may do multiple corrections on the preparatory drawing until you’re happy with the result.

Drawing with sanguine has a very special characteristic. The chalk can be constantly in touch with the paper while you draw. Round movement of the chalk gradually builds-up the color on the paper.
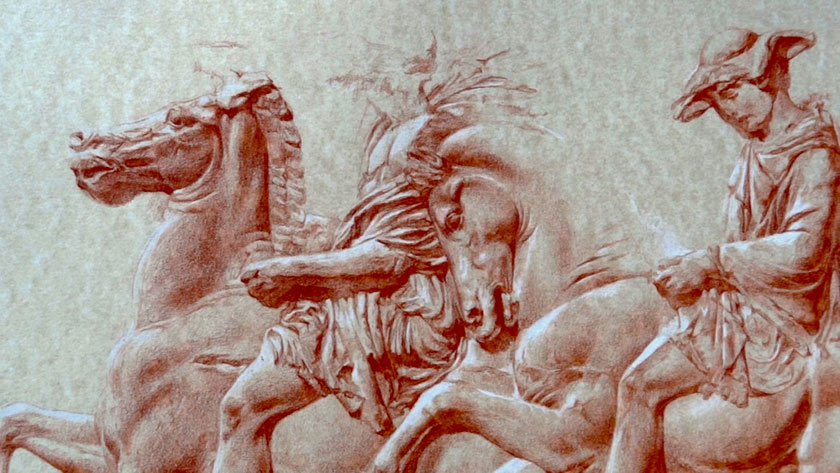
The main advantage of a sanguine drawing is that you only have to pay attention to how shadows and mid-tones are progressing in your picture. It is necessary to find a balance between the three main values of the drawing – light (which will be the tone of untouched paper), mid-tone, and dark shadows. You should make sure that the middle-tone stays lighter than shadows and darker than light areas. You should also note the difference between the tones of core-shadows and cast-shadows. Cast-shadows are always darker than core-shadows, which is very apparent on the white marble sculpture we are drawing.

It’s a good practice to place a piece of paper under your hand to keep the drawing protected while you’re working. Our main attention here is devoted to the volume of shapes and the tonal drawing. This makes our task easier because all constructive modelling of the drawing was done in the first step.
When creating the tonal volumes of the sculptural relief, the tonal balance needs to be defined among all gradations of light and shadows. The cast shadows are the darkest places in the drawing. The lightest highlights will be made in white chalk as the finishing touches.
There are several varieties of sanguine. This natural red earth is one of the most ancient drawing materials. It has a lovely red color.
For this particular task, a wax sanguine was chosen to get more precise lines and small-scale details. This wax sanguine is formed in the shape of a pencil, which makes it easier to sharpen and hold.
You may decide to use a natural earth sanguine material, which is equally good for bigger drawing formats. Such sanguine comes in cylinder or face shaped sticks. It is advisable to try the pieces of sanguine first because they vary greatly, some being hard and gritty and some more soft and smooth. These days many types of sanguine are artificially prepared. These work well and are never gritty, but they are not as hard as the natural chalk. Consequently, the sticks wear away quickly and are not good for making fine lines.
The sanguine drawing technique is remarkably different from drawing with graphite. You can see examples of the dissimilarity in this tutorial and in the graphite drawing video tutorial available in the Web Art Academy course.


