Art Lesson 43, Part 1
Discover How to Paint a Girl Portrait
Learn how to paint like the Old Masters!
Old Masters Academy Online Course
Self-study, self-paced online video courseLifetime membershipOne-time payment: $487Enroll Now!Personal Tutoring online + Online Course
Unlimited tutoring by the Academy teachersLifetime membershipOne-time payment: $997Enroll Now!« Back to the Art Lessons List
How to Start Painting on Canvas
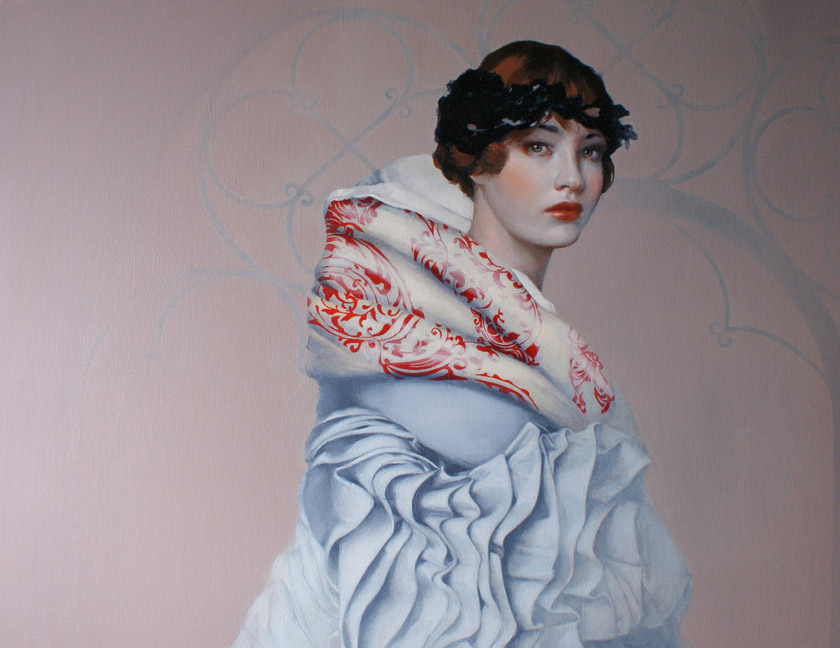
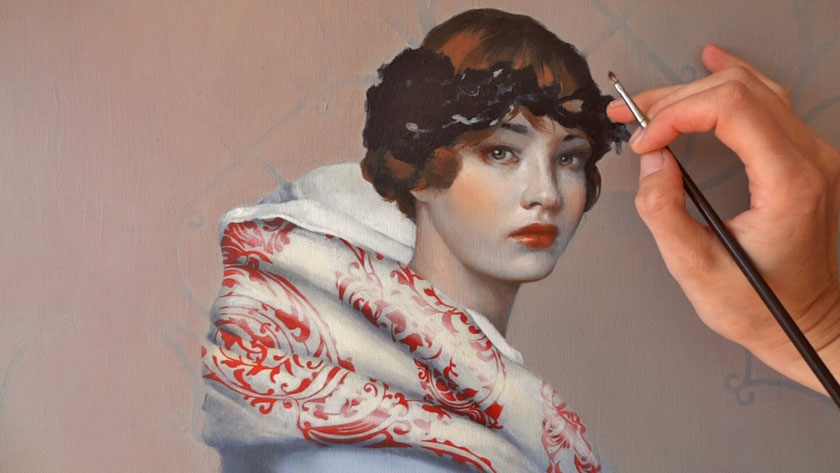
In this introduction we will take a look at materials and the first basic steps of making a portrait painting.
Let’s start with canvases. We have two basic options – either use a ready-made already-sized and primed canvas, or size and prime it yourself. In future videos we will show you how to prepare a canvas for a painting. For now, we’ll start with the easiest option – the ready to paint canvas. Any art supply shop should have these kinds of canvases. The canvas is usually made of 100% cotton and has a double coat of primer. The primer coats prevent the sinking of oil color and increases adhesiveness. Perfect for Oil, but check the label anyway.
That’s how the reverse side of an unprimed canvas looks – plain weave cotton is the most popular canvas type for ready to paint canvases. Such canvases always come with corner wedges which can adjust the canvas tension. This comes in handy when the canvas sags.
That’s how the front side of the primed canvas looks. The surface is not smooth but grainy. This roughness helps paint cling to the surface.
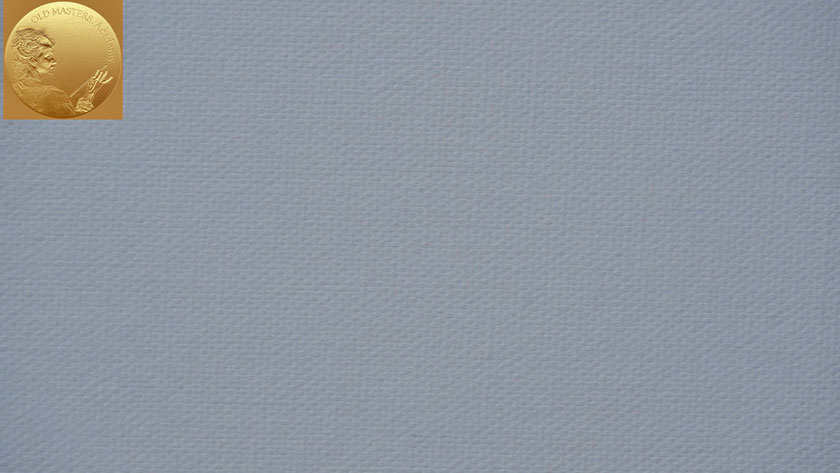
To adjust the tension of the canvas, insert wedges as shown in the video and tap lightly with a hammer to prevent the stretchers from breaking. Check the tension of the canvas – it should be tight, but not as much as a drum.
Alternatively we can use a canvas board. It could be the same cotton canvas, just glued on a board. It has very similar qualities as a canvas on stretchers – the same double priming, the same textured surface; only on a solid support. So we can press more firmly with a brush during painting.
All manufactured canvases are primed in white.
The first step of our oil painting process is making a grey background. The purpose of this step is to remove the whiteness of the canvas. We will need the following: White Spirit or Turpentine. A bowl. A large semi-rigid hog brush. As a base color we will use Titanium White. For the background to be light grey, we will mix Titanium White with a little bit of French Ultramarine and Raw Umber. Mixing warm Raw Umber and cold Ultramarine will give a neutral grey and Titanium White will make it lighter. It is also helpful to have paper tissues or rags on hand. Squeeze out the paint on the palette.
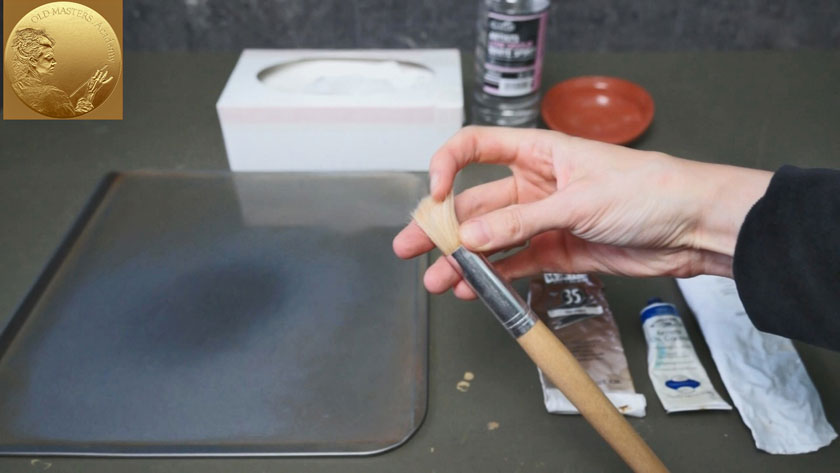
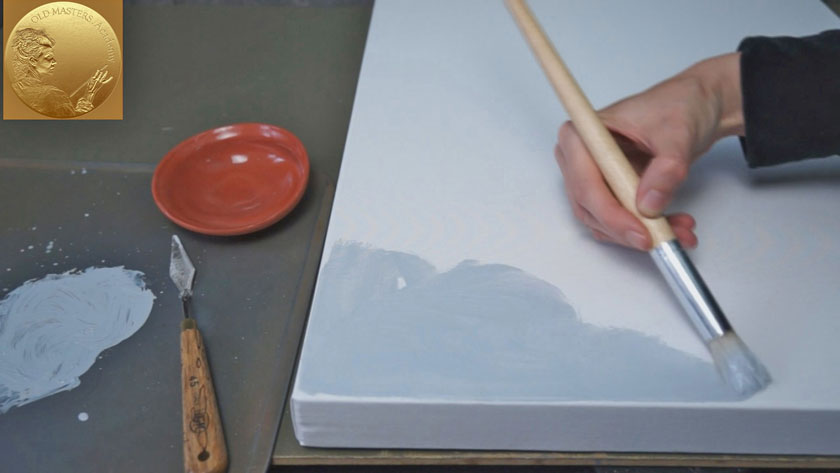
Since white is our main color, we use it first, then add bit by bit the blue and brown colors, until we’re satisfied with the results.
A palette knife is also one of the necessary tools in painting. It makes mixing paint easy. Look for a size and shape of palette knife according to your personal preferences. We can dilute our paint mix with Turpentine or White Spirit. They are volatile diluents and will therefore speed up the drying time of the paint.
Rub the paint onto the canvas with a semi-rigid brush. Paint adheres to the surface because of the tooth, or texture, of the canvas. In such a way, we can cover the entire canvas surface in just one coat. Or – for smoother coverage – two coats. But we have to wait till the first coat is dry. Now with an off-white background it will be easier to paint. The choice of the background color depends upon artistic task and personal preference. It could be warmer or cooler. The tonality also could vary from darker to lighter.
To keep our canvas clean before we start painting, it’s better to make a preparatory drawing on a piece of paper the same size as our canvas.
Further, if the draft get messy, you can have a back-up of your draft by neatly delineating the preparatory draft onto another piece of plain paper. You see such a delineated drawing on the video. Now we can transfer our composition to the canvas.
For that we need a Charcoal or Sanguine sticks. The name Read Chalk is also applied to Sanguine. Make sure that your Sanguine stick is soft. Hard chalks are not suitable for transferring. Just test them on paper first.
Scrape your Sanguine stick with a craft knife making a powder. As you can see, the powder is soft and crumbles easily.
We turn the paper over to the other side to view it against the light of the window or lamp. Mark areas that can be left uncovered. Blank areas we mark with crosses to see what areas should be covered with Sanguine and what areas remain blank.
Now it’s just routine work of rubbing the powder onto the paper. Drawing paper can be fixed with bulldog clips to a board or with tape to a stretched canvas. It is advisable to leave one side of the sketch outline unfastened. During the transfer you can lift the paper to check whether marks are heavy enough.
Sanguine, Charcoal or Sepia are equally suited for transferring a drawing. Graphite powder is less suited because it gives a glossy cast and prevents adhesiveness of the oil paints to the canvas surface. Use a soft brush to flick off the powder from the surface. To make the outline less visible, use a kneaded eraser; it “picks up” Sanguine particles easily, leaving the surface clean.
The next step is a “Dead Color Layer.” It’s better to have brushes that will not leave traces of hair. It could be soft hair synthetic brushes. For this particular painting we are going to use brush sizes 0, 1 and 6. For a dead color layer we’re using the same oil paint colors as we were using for a grey background; namely French Ultramarine, Titanium White and Raw Umber. But this time we reduced the amount if White. That’s why the mix looks darker. White Spirit or Turpentine is optional.
On this step we are doing a light draft of a figure indicating shadows and mid-tones. A dead layer serves as a monochromatic hue that will help us when we paint in full colors.
When painting a mantle, we should depict its elaborate pattern as perfect as we can from the very beginning. This pattern will remain unchanged later on during painting. It will be finished with multiple glazings, so the red pattern will be visible through glazing layers. That’s why we need the pattern to look clean and precise from the very beginning. A brush size 0 is ideal for the task. Dilute a mix of Alizarin Crimson and Cadmium Red with Liquin Fine Details medium. Liquin Fine Details allows paint to flow and helps control the making of petite details. Turpentine or White Spirit can also be used as alternatives.
For the Dress we take the same mix we used for architectural elements. By adding a little bit of White we get a light grey mix of paint that fits our requirements. The dress folds are painted in the following sequence: starting from the darkest spots, we make gradation from dark to light using a clean brush dipped into Turpentine or White Spirit. The light grey color of a background serves as lights; and such light areas can be left untouched. Here is a finished under-painting of a Dress; it has defined tonal values of darkest shadows, mid-tones and lights.
The Next step is painting face features. Here we also start from the darkest places. Thick Sanguine outline can be partially erased with an old stiff brush dipped in Turpentine or White Spirit. Wipe away any excess of the solvent with a paper towel. Leave just a slightly visible outline. When painting a face we use the same method as for painting the folds of the dress. That is taking a rich dab of paint and then diluting it and extending gradually from dark to light.
The same approach we apply for lips and then for nose and eyes. It is a simple way to deal with a monochrome painting – you just need one mix of oil paints and a relevant background. With a white background the oil paint mix would look too contrasting. The grey background softens that contrast and helps to build up tonal values of the shape.
Follow the shape. From one side it could have a sharper edge, than from another one. You want a soft transition from one plane to another. Avoid drawing with the brush using lines. Follow the roundness of the form.
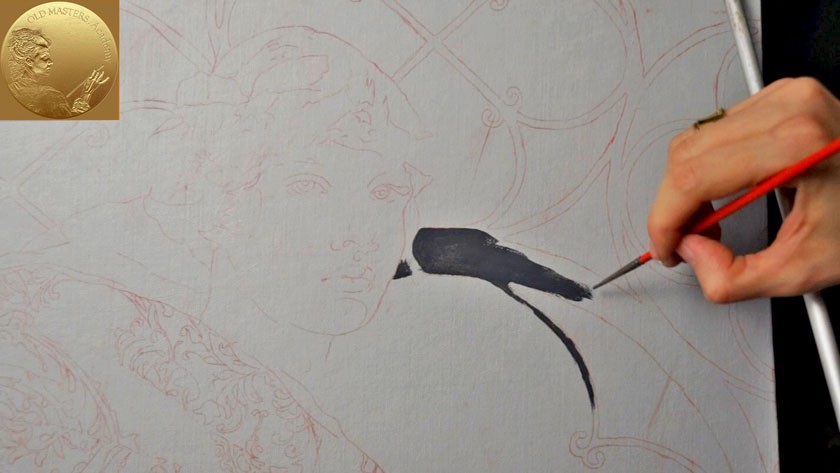
This is the first layer of a face painting. After drying we can adjust the painting and apply a second and, if required, a third layer of Dead Color. A Dead Color Layer has the purpose of defining tonal values with a monochrome color which will help to continue the portrait with full color layers. Painting in just one color makes the task of depicting 3 dimensional objects in light and shade easier. At this step we don’t have to concentrate on colors.
As the Web Art Academy video lessons are aimed to show a diversity of oil painting techniques, not every lesson will use a Dead color method. Our aim is to introduce you to a variety of techniques and methods. Then you can choose what technique is better for you.


