Art Lesson 43, Part 5
Discover How to Paint a Girl Portrait
Learn how to paint like the Old Masters!
Old Masters Academy Online Course
Self-study, self-paced online video courseLifetime membershipOne-time payment: $487Enroll Now!Personal Tutoring online + Online Course
Unlimited tutoring by the Academy teachersLifetime membershipOne-time payment: $997Enroll Now!« Back to the Art Lessons List
Oil Painting Skin Tones in Shadows
Before continuing the painting and moving on to the details, make sure the previously painted layer feels dry when you touch it. This requirement is important not only because it prevents new paint from mixing with insufficiently dried paint on the canvas, but also because it is one of the fundamental rules in the multi-layering technique of oil painting. To be sure that your art will remain unaltered for decades or even hundreds of years, just stick to the rule that every new layer of painting is done on a well-dried previous layer.
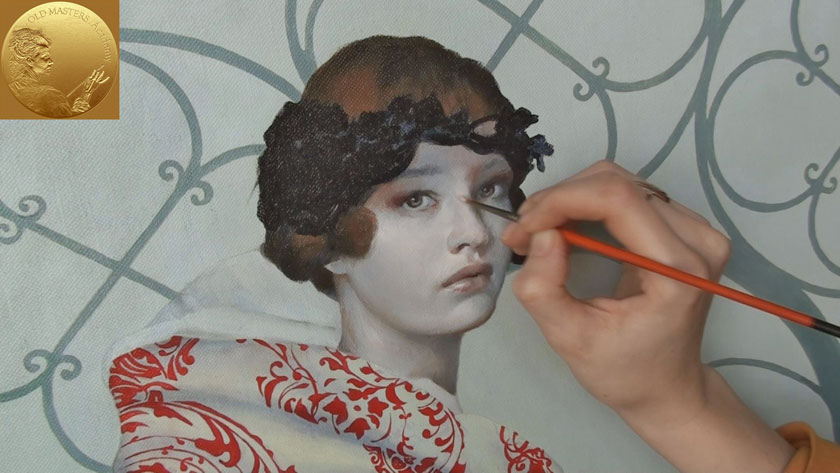
To make the face more even and smooth, paint over with transparent, thin layers, adding a little bit of color nuances to the mixture. Use an almost dry brush – just to fix the unevenness of the surface.

One of the popular questions about painting figures or portraits is: “What kind of colors does the artist use for painting the skin? What is the right color for shadows in a portrait?” The fact is that there isn’t such a thing as right or wrong color for skin depiction. Color isn’t a set thing. It’s relative to what’s next to it. The chosen set of colors for shadows and highlighted places should be in harmony with each other.
If you bring together a group of brilliant realistic portraitists and seat a model in front of them, you will see that every one of them could create a realistic portrait with a high likeness. But when you compare the colors in each portrait it will be obvious that they are using different set palettes. We don’t even consider the fact that the same model’s skin will look different with a change of lighting.

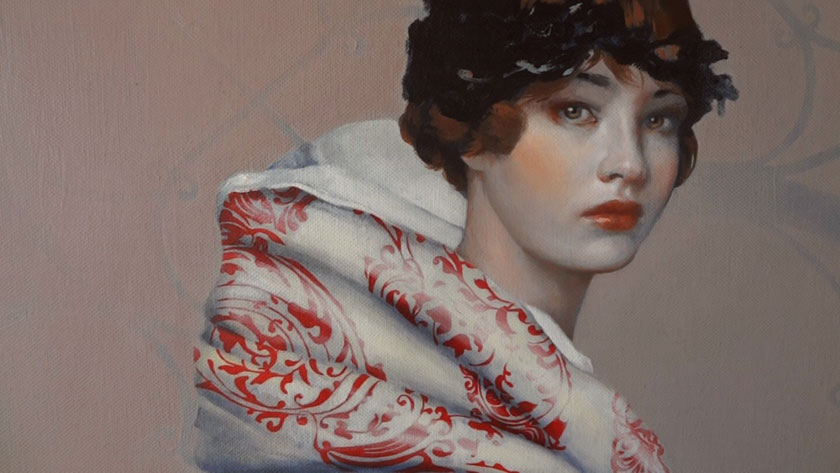
It’s time to start making the model look more alive. Colored layers were added already, but the “dead colors” are still dominating. This pinkish color will “awaken” the portrait.
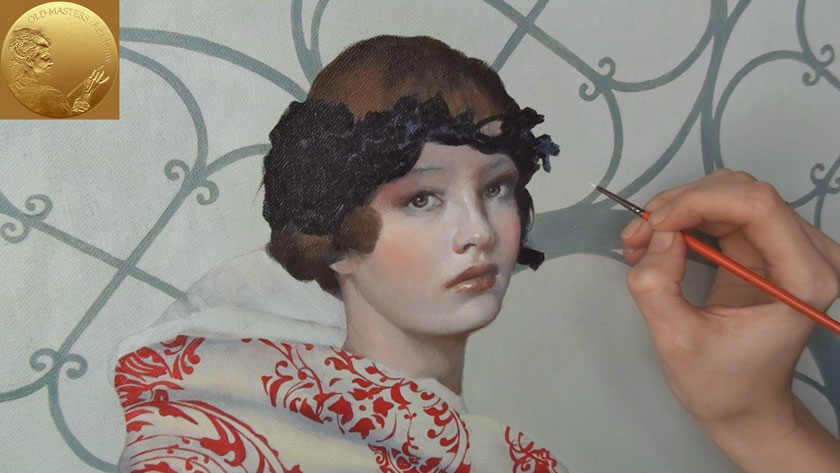
Apply a color on the right spot, then extend it by using your fingers or a dry brush. For this purpose you could use a special clean brush with a long, soft and flexible pile. It will help to gently spread paint across the surface of the cheek. Gradually shades become more warm and distinguished.

When you want to spread out the paint but the applied layer is too thick, just wipe off excess paint with the brush and carry on with spreading. Highlighting can do miracles in painting. The important thing is to put paint in the exact position where it is most needed. Then the shape will hit immediately. You could leave this pleasant exercise for the end of painting process. Or you can do it in the middle of the process, so you have a clear idea about the form of the face.


