Art Lesson 47, Part 1
Discover How to Paint a Portrait in the Direct Method
Learn how to paint like the Old Masters!
Old Masters Academy Online Course
Self-study, self-paced online video courseLifetime membershipOne-time payment: $487Enroll Now!Personal Tutoring online + Online Course
Unlimited tutoring by the Academy teachersLifetime membershipOne-time payment: $997Enroll Now!« Back to the Art Lessons List
How To Block In an Oil Painting
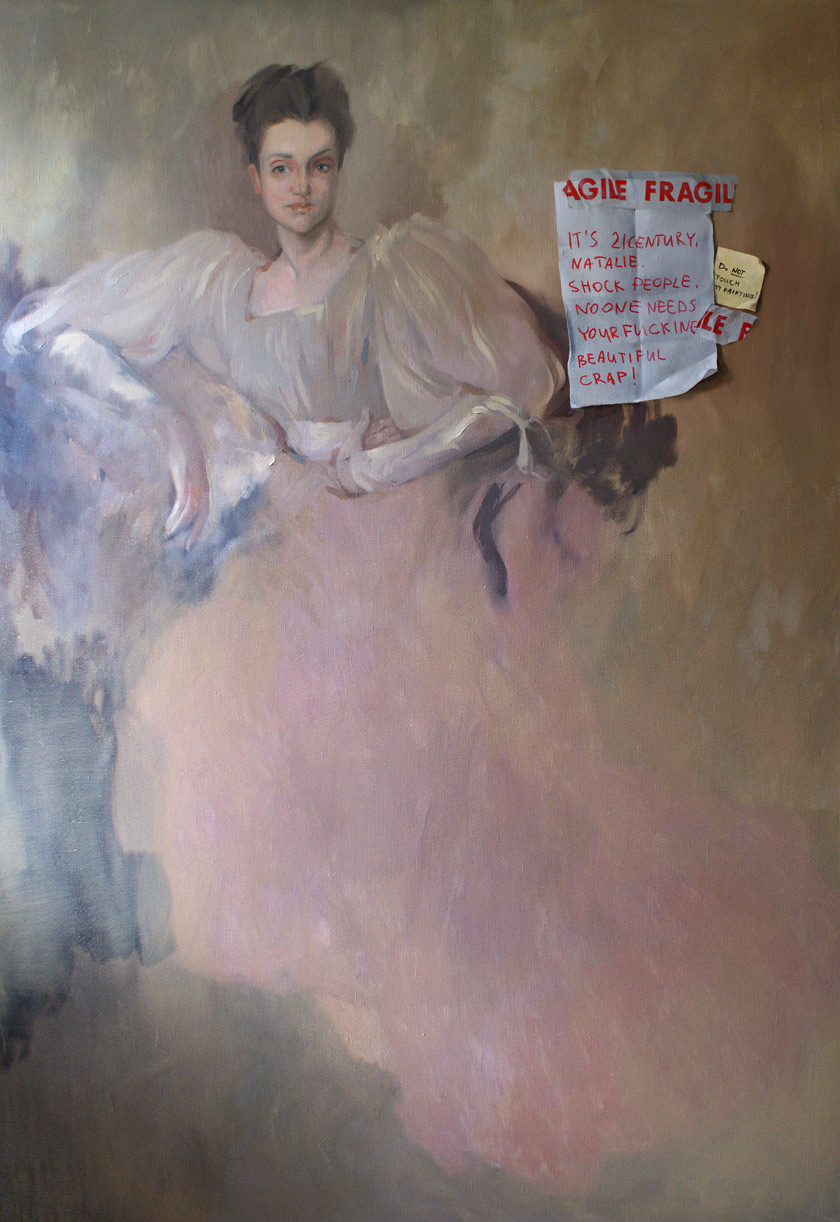
This painting was created as a commissioned portrait of a young woman. The composition and details were carefully chosen beforehand. The hairstyle and the clothes were specifically selected for this picture. Also, the whole color gamut was specifically chosen to portray the lady in a certain way. The composition decisions included the sitter’s pose and location on the canvas. You can see the resulting full-length sitting portrait made in light colors.
For this picture the canvas was prepared in an off-white tint. Making the canvas off-white rather than using a white primed surface will help with further work in colors. You can see color relationships and place colors more easily when the initial color of the background is already there. Working on white is a bit more difficult. The neutral light-grey background would fit just fine. You can try a small sample of each color on this type of background to see how it looks. As you can appreciate, the same paint on the totally white canvas would look very dark compared to the off-white canvas. You may accidentally choose the wrong tones working on white, and this would require some corrections going forward. So, we are beginning with the background.
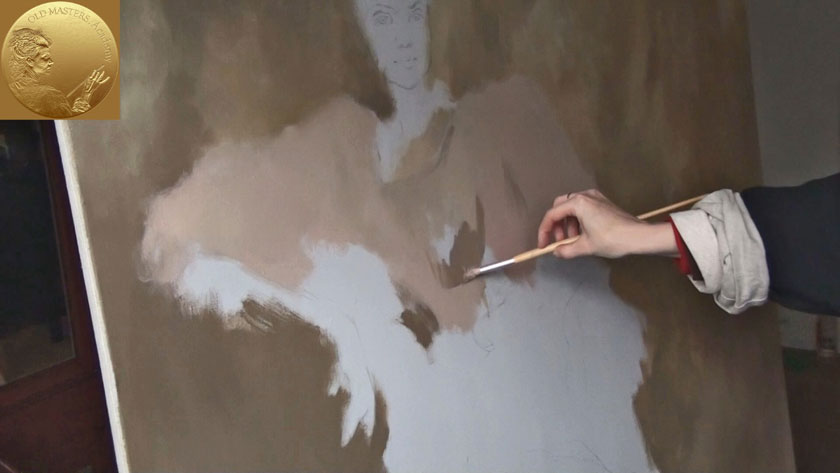
When you have tested the color swatches that you mixed on the palette, you can prepare enough paint to continue the work. Because we are working on a big canvas the paint consumption will be more than on a smaller picture. So you need to make sure you’re mixing enough paint for the job. Have a look at the type of palettes that will be used for our convenience.
We will use two pallets at the same time. The first one is the traditional wooden palette you can purchase in any art supply store. The second palette is a very unusual one. In fact, this is not a palette as originally intended by the manufacturer; it is a no-stick cooking tray covered with a Teflon surface. The surface holds paint very well and is very easy to clean after use. Another advantage of this metal palette is its grey color. Being neutral, the grey color helps when mixing paint, especially when you’re working on grey-covered canvases. The only purpose of this palette is for mixing paints. The size is large enough to hold all the required paints and paint mixes.
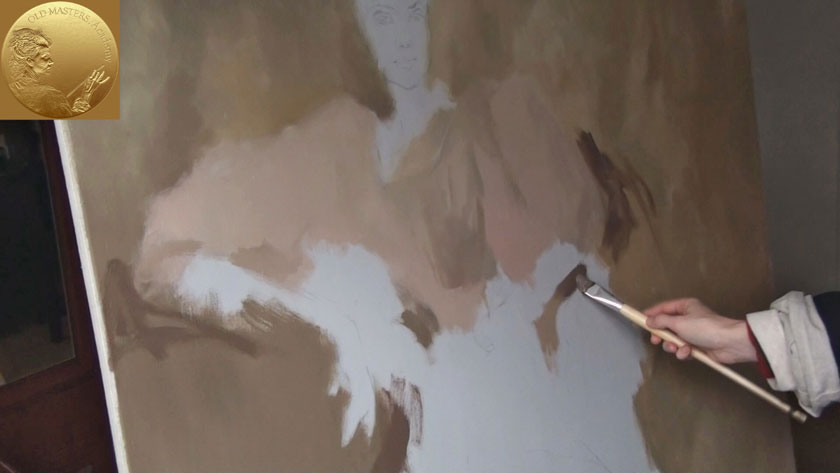
The background is painted with a stiff, wide brush. Such a brush allows you to spread paint with quick rubbing movements over the canvas. The paint is diluted with Turpentine to achieve the consistency of a semi-liquid mixture, similar to dairy cream. There’s no need to cover the canvas with background paint evenly. The brushstrokes and uneven surface tone will add an artistic effect to your painting. For this step, prepare several paint mixes with some variation of colors beforehand. Apply the paint mixes to the canvas as required and mix the paint between the color variations directly on the canvas.
Here’s the final result of the background. The background is applied around the figure at this stage. Even though the background is only the first step, this color layer is crucial to the look of the artwork as it will be the only layer on the background.
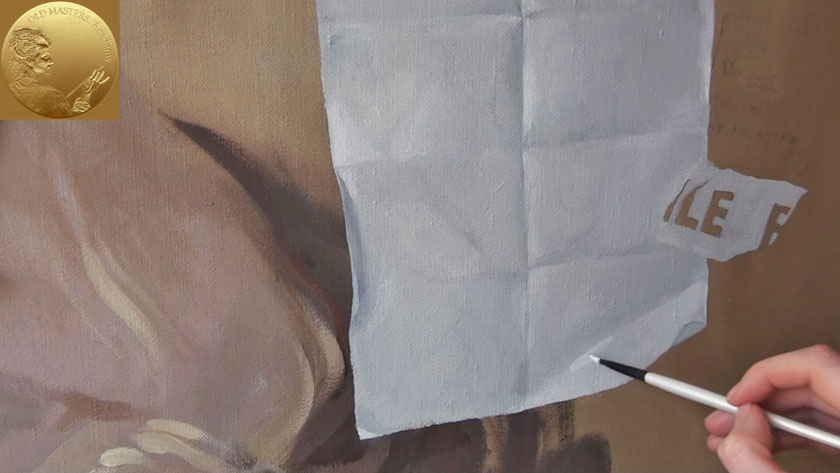
The choice of the background color will dictate the whole color appearance of the artwork. You may change the color at this stage or work on the background after it’s dry. Ideally we want to keep this layer as fresh-looking as possible. Therefore, choosing the right color mix and applying just one layer for the background is the preferred option for our particular painting.
Because the painting is so large, the background preparation will take more than two hours. Do not rush this process. Getting the background done right at this stage is important for achieving the overall look of the finished artwork.
The first day of our painting process is used to put in place all the color masses, including the dress, together with the background. This is all done in one day while the paint is wet. Working with a wet layer at this stage helps us to mix neighbouring colors efficiently, blending one form into another where required. For this task we are starting with the painting background. The background is painted slightly over the figure shape; this will help us to mix the figure and dress paints with the background in a little while. The dress colors will fuse with the background without sharp edges.
Let’s find the right color for the dress. The mid-tone for the dress is chosen first. Painting the mid-tone first will help to keep the light and dark places of the dress balanced later. In this way, you will also have much greater control of the dress colors. Going forward, you will find it easier to paint lights and shades using the mid-tone as the base color.
The shade places were unpainted up to this point. Now it’s time to cover the shades with the brown paint. The same wide, semi-stiff brushes are used here. The paint is diluted to the dairy cream consistency and easily covers the unpainted areas.
The painting’s size prohibits us from finishing it in one day. However, the ala-prima technique is ideal for small to mid-size paintings if you would like the paint to dry in one go and remain unchanged in centuries to come. The ala-prima paint layer is the most resistant to cracking and changing colors over time. The layers of paint applied one on top of another, wet-on-wet, are fused together as one solid layer, which results in the paint drying evenly as a whole unit. In our case the artwork is quite large and therefore it’s better to split the painting process into stages, allowing paint layers to dry before painting top layers. The darker places like the shadow under the right hand and the back of the chair behind the sitter are done in freehand brushstrokes with a wide brush.
The last task for the day is to paint the lower part of the dress in mid-tone while the neighbouring paint is wet and it is possible to intermix paints directly on the canvas.


