Art Lesson 49, Part 1
Discover How to Paint a Self Portrait Using a Mirror
Learn how to paint like the Old Masters!
Old Masters Academy Online Course
Self-study, self-paced online video courseLifetime membershipOne-time payment: $487Enroll Now!Personal Tutoring online + Online Course
Unlimited tutoring by the Academy teachersLifetime membershipOne-time payment: $997Enroll Now!« Back to the Art Lessons List
How to Start a Portrait Painting with a Brush Sketch
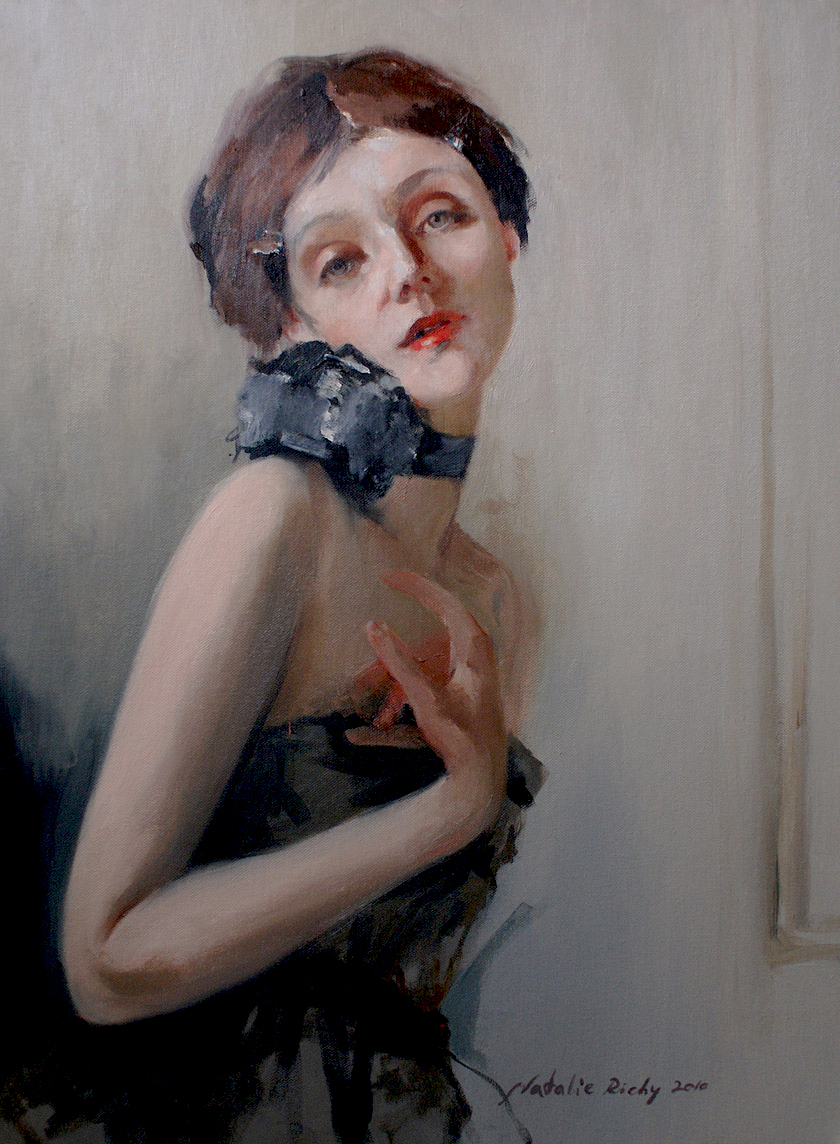
This painting is called the “Pleasure Seeker.” This is an emotionally rich painting with expressive content. The painting was painted by Natalie Richy. Natalie was using herself as a model. However, the painting isn’t a self-portrait as such; it has another purpose. Using a mirror, Natalie has created the composition in the portrait genre, featuring herself as a model.
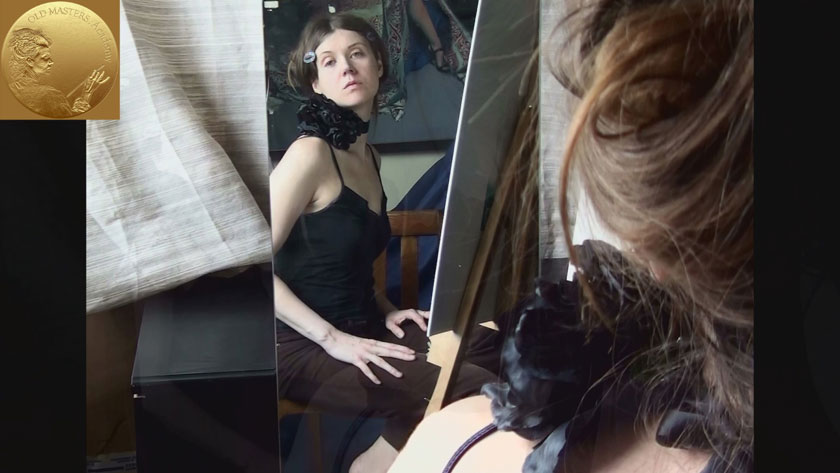
It is quite challenging to paint a portrait without a sitter in front of your eyes, especially when you are creating a realistic artwork. Ideally, the artist should have a sitter so that he or she can see in real life the anatomical details of the human figure in various poses. This way it will be easier to capture the proportions of the body and face. After the general proportions have been sketched, the facial details can be added, corrected, and improved as needed.

We are using a high-quality canvas board for this artwork. This is a ready-made canvas, double-primed in bright-white gesso. To reduce the brightness of the canvas, the surface is prepared in the following way: One day before painting starts, the whole front side of the canvas board is covered with oil paint that has been diluted with turpentine. The paint is diluted to quite a liquid state. After the paint is applied with a wide, flat brush, the excess paint is wiped away with a soft cloth. The remaining oil paint slightly colors the white gesso, producing an off-white light background. This first layer of paint is very thin. The drying time of this layer is quite short so the painting can begin the following day.
Then we begin drawing with the brush directly on the canvas, without any preparatory sketches in charcoal or graphite. The round, stiff brush is used for this purpose. We are using just enough oil paint and rubbing it on the canvas with the brush, making sure it spreads out thinly rather than building up. At this stage a thick layer of paint is not desirable.
We are using the “fat over lean” technique in this painting. “Fat over lean” refers to the principle in oil painting of applying paint with a higher oil to pigment ratio (‘fat’) over paint with a lower oil to pigment ratio (‘lean’) to ensure a stable paint film, since it is believed that the paint with the higher oil content remains more flexible.
This means that the first layers, which include brush drawing and under-painting, are painted using paint diluted with a volatile solvent such as turpentine or spirit. The following layers will be painted with oil paint straight from the tubes or mixed with linseed oil. The artwork may be finished by glazing over the body colors.
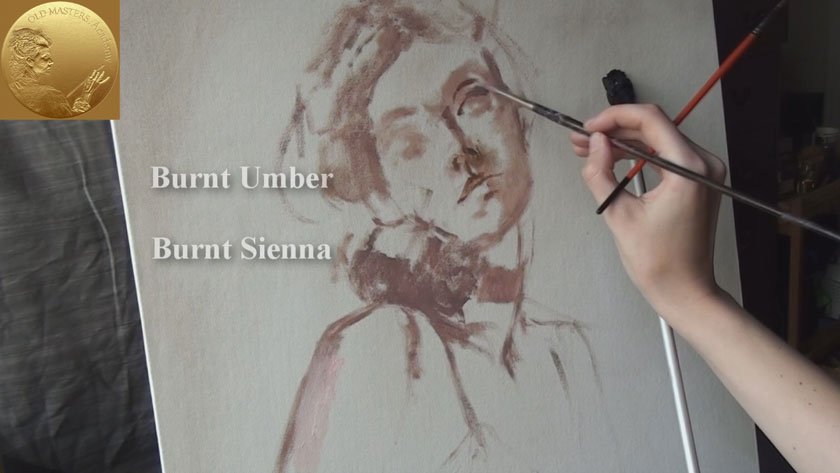
Here, our first brushstrokes are diluted with turpentine. For the brush drawing we are using Burnt Umber and Transparent Maroon.
As you can see, the very first step is the line sketch. The main ratios of the head and the body are being indicated on the canvas. This is followed by indicating the shadow areas without many details, so that the drawing reflects only lights and shadows without mid-tones in between. All the work is done in faded tones, lighter than what the end result will be.
Now we are using Burnt Umber and Burnt Sienna straight from the tube, drawing the features of the face in the shadows. As this is still a preparatory drawing, do not try to make the features look finished; however, make sure they are anatomically accurate.
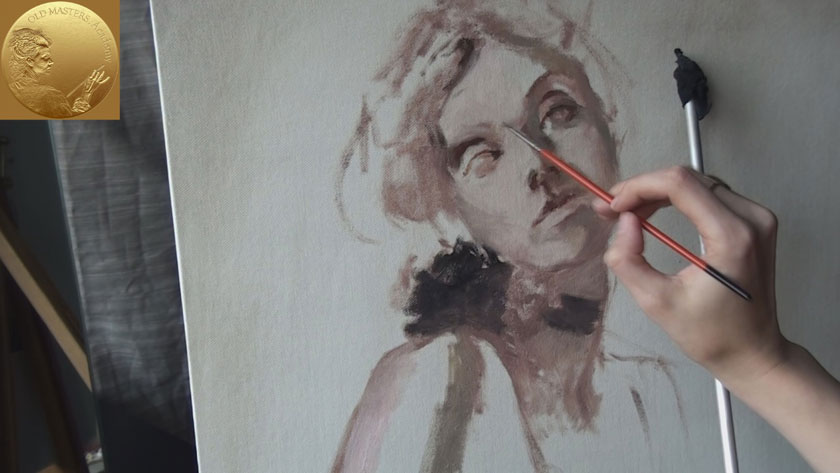
During the face modelling, it is all right to make a lot of corrections, working until you are satisfied with the shape of the face. If you are not happy with some portion of the drawing, you can wipe it off the canvas with a soft piece of cloth and start drawing again. At this time we are concentrating on the nose, shaded upper lip, eyelids and eyebrows. Gradually you can darken the paint to put the facial features into deeper shadow.
The bow and ribbon on the neck are painted as a dark spot. This dark spot will be the benchmark for other dark places on the face.
The lights are painted while the artwork surface is still wet. For this task we are using a semi-stiff brush to spread the paint over the untouched canvas surface. With the same brush, we are mixing this light flesh color with shadows directly on the canvas. This way we are creating intermediate tones from lights to shadows.
To become a skillful portrait painter, it is advisable to paint portraits at different angles and in different positions. The angle chosen for this particular portrait is quite difficult for two reasons. First, it is challenging to observe yourself in the mirror at this angle, and second, it is difficult to depict the portrait foreshortening. We continue to strengthen the contrast between the light and shadow, simultaneously working on small details.