Art Lesson 45, Part 3
Discover How to Paint Figures in Oil
Learn how to paint like the Old Masters!
Old Masters Academy Online Course
Self-study, self-paced online video courseLifetime membershipOne-time payment: $487Enroll Now!Personal Tutoring online + Online Course
Unlimited tutoring by the Academy teachersLifetime membershipOne-time payment: $997Enroll Now!« Back to the Art Lessons List
Finishing a Portrait in Oils Using a Direct Painting Method
The portrait was made in the alla-prima and is completely dry by the time. This is the end result with a fresh and professional finish.
However, I have decided on a little modification of the portrait. This requires painting over the alla-prima layer. You may do this if you feel that the result achieved isn’t complete. Nevertheless, this technique differs from the one session portrait.
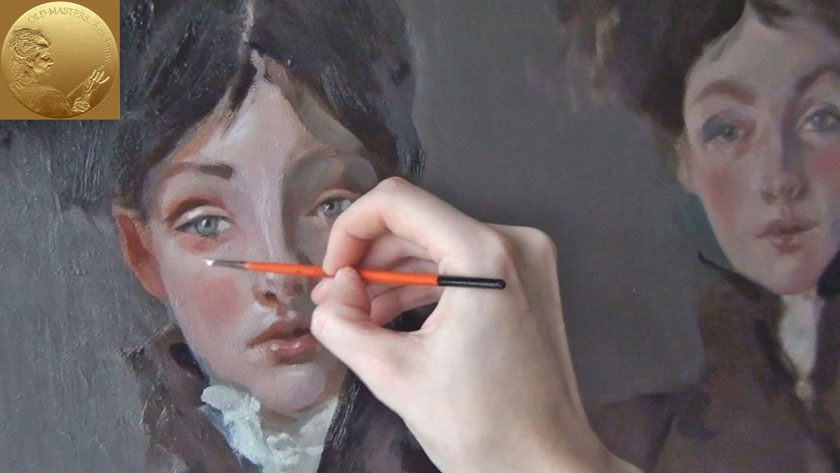
The details of the decoration are painted at this step. The girl’s collar is painted in Buff Titanium and White. There is no need to use any mediums for this mix, as the paint is ready to use. We need quite a thick mixture of the opaque white paint for the task. A small round brush is good for the purpose.
The freshness of the cloth depends on the virtuosity of the separate brush-strokes. When you rub the paint into the surface of the canvas or just touching it making dots you would achieve different effects. Use the combination of both the methods of the brushwork.
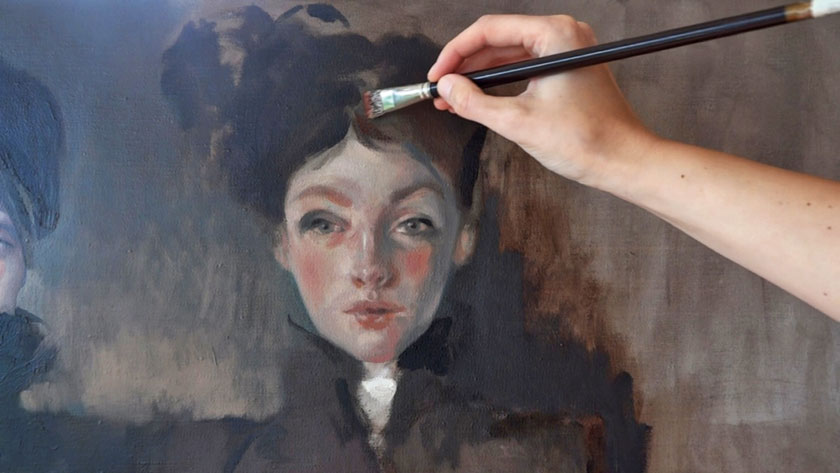
The girl’s hair can be deepened with the darker brown paint mix in the areas of shadow. This will improve the three- dimensional look of the head. The Vandyke Brown with a little Alizarin Crimson and Ivory Black is used.

Now we proceed to the girls’ clothes. The best way to do this is to paint in big masses. Prepare the mix of the brown paint that will be enough to cover quite a large area of the canvas. We can dilute the paint with Turpentine. A flat wide soft brush will be the best one for painting the girls’ garments. The soft brush will cover the canvas with an even, thin, opaque layer. The wide brush will help to cover the surface quickly. Not making the texture rough.
While working on the garment, we can paint the second girl’s cloth at a session. Use the brush to outline the edges of the girl’s shape. A thick round shaped brush is ideal for the outlining. We dilute the paint mix with Turpentine to make sure that the paint will be applied easily when we draw the outlines. Freehand strokes are good for the task.
We fill the area of the clothes with the brown middle-tone. The wet middle-tone is a very convenient base for painting shadows and folds over it. This darker tone of the brown mix with the wet paint underneath it ensures a smooth transition from the mid-tone to the shades. A round medium width brush is good for the task.
We come back to the portrait of the first girl. When going on with the portrait you should take care not to over-do the altering. As you see in this video, the altering dramatically changes the portrait.

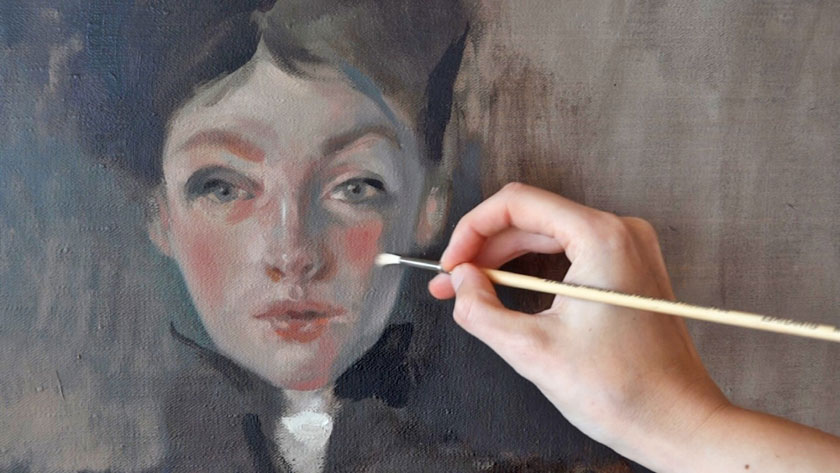
The portrait was painted several times over the dried layers of the under-painting. We concentrate on various brush strokes in this portrait. These strokes make the portrait fresh and unique. Such fresh and bold strokes add expression rather than a photographic look to the portrait. It is very handy when you want to paint in the pre-photographic era style.
Don’t be afraid of exaggerating some colors of the features. As we have already mentioned, photorealism isn’t the focus of the portrait. For example, the shadows in some areas are quite grey-blue, which is impossible in the real life. However, it provides an excellent look.

To make the painting more picturesque, you should paint not only what you see, but also apply your imagination.
There’s one particular method that can be used in your pictures – exaggeration. For example, the space between the girl’s upper eyelid and the eyebrow is highlighted with the unnatural Caput Mortuum.
The previous layers of paint are dry so we can apply the final touches, not by the alla-prima method but by the wet on dry. The final strokes will be applied in a bit lighter color. For the highlights we choose the pinkish mix. Try to avoid the pure white paint when making the highlights. Keep up with the relationship of the colors of the face and the collar. The lightest colors on the face are darker than these ones on the white collar. We are painting on the dry surface, so we can apply semi-opaque glazing with the addition of some Liquine. You can apply the paint in a thick layer or even rub it by a fingertip. The highlights are on the lips, nose and above the upper lip. This is the final result of the portrait painted at several sessions.


