Art Lesson 45, Part 2
Discover How to Paint Figures in Oil
Learn how to paint like the Old Masters!
Old Masters Academy Online Course
Self-study, self-paced online video courseLifetime membershipOne-time payment: $487Enroll Now!Personal Tutoring online + Online Course
Unlimited tutoring by the Academy teachersLifetime membershipOne-time payment: $997Enroll Now!« Back to the Art Lessons List
Portrait Painting in Oil Step by Step
We are about to begin the first face painting. The graphite drawing provides with perfect indication of the shape of the face and we can go on with the initial under-painting steps. For the purpose we use a mid-size firm round brush. The Vandyke Brown paint is mixed with Turpentine medium. To begin with, the darkest spots are marked on the picture, these spots are the shade near the eyes, the nose, the shade of the hair, etc. There is no need to concentrate on the medium tones at this stage. This will be done later.

The same Vandyke Brown is used for all the shadows and dark tones of the face. The aim of this is to cover all the dark places applying the same tone. Diluting with Turpentine if necessary just for the very thick oil paint. If your paint come out of a tube ready to use as is, it would be ok to use a minimal amount of turpentine if any.
To apply this first coat the “rubbing” technique is used. It is generally used on the fresh surface of the canvas to “rub in” the shade or the first coloring of the picture after the drawing has been completed. It is one of the safest and wisest ways to start painting. You can rub in the picture using just one color. In this way you can make a complete drawing in monochrome. Or you can apply the ground colors till it has the effect of a complete painting. Then, as you keep on painting each color you put on will be surrounded by approximately with the similar tones, instead of being contrasted by the glare of the primed canvas.
Now the flesh tone can be added to the picture. The Naples Yellow, Cadmium Red and Cadmium Yellow Deep mix is taken for the purpose. The same rubbing technique is used at this stage. The purpose of this step is to cover all the mid-tones and the light areas of the face. The paint is applied irregularly – the thicker pink mix goes where necessary while the other areas are painted more thinly, with the light-grey canvas seen below it. Thus we achieve the desirable effect of the light and shade of the portrait.

This second step of painting the flesh colors begins when the first brown layer is still wet. Having the dark brown shades and the lighter flesh paint next to each other on the canvas, we can mix these two tones directly on the canvas. This provides us with the desirable effect of transition. One color transfers into another one with the nice smooth mid-tones. No problem if your first paint dries by the time. You can still go on painting. Though, more job will have to be done when the smooth transition is required.
You may be surprised by the very limited palette of the under-painting of the face. At the same time, we do not need a multi-color effect at this stage. All we are after is the indication of light and dark areas of the portrait. All the colors will come later.
When the under-painting of the portrait in brown and flesh colors is more or less completed, we can proceed to adding other colors to the picture.
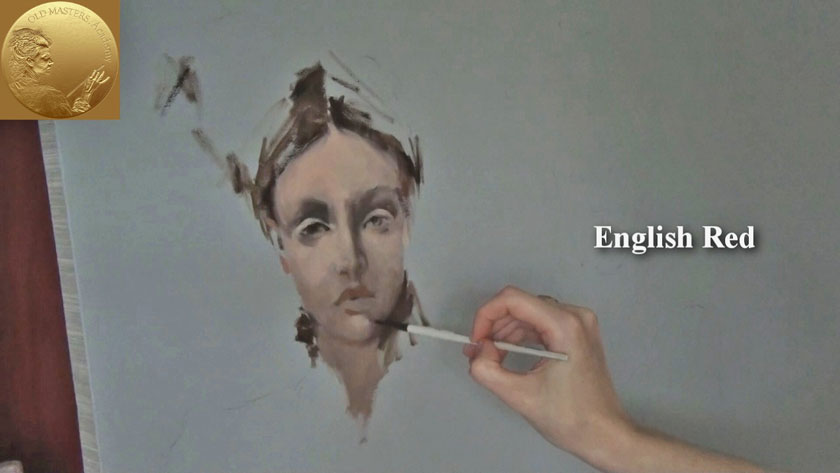
The girl’s lips can be accented with the help of the reddish color. For this we use a mix based on the English Red. The under-painting isn’t dry yet, so the red paint can be mixed with the paint beneath it.

We still keep on shaping the surface of the face. The chin, nose, chicks… all need to be painted in comparison with each other . The same limited color palette is used for the purpose. At the same time we add some new tones and shades. Also, some new colors are added to the mix while we keep on painting.
Now we make the lighter areas of the portrait. The same flesh mix used before is now added along with White and Buff Titanium paints.
The Grey background is painted around the girl’s head. The canvas was primed in the light-grey color, which helped to paint the first stages of the girl’s portrait. To continue with the portrait it would be a perfect time to surround it with the darker background as it meant to be for the end result, to highlight the light-fresh color of the girl’s face.
White, Ivory Black and Raw Umber paints were mixed for the purpose. The grey background is painted in such a way that there is no border between the background and the outline of the girl’s head. They intermix with each other. This results in a soft border with no sharp edges – exactly what we need for the atmospheric perspective of this painting.
The girl’s hair is painted in two steps – first, we make the darkest places of the hair. Second – we paint lighter areas of the hair on top of the darker ones. The hair is painted as masses, with no details. The darker and lighter shades of the hair intermix with each other right on the canvas.
We make a smooth transition between the hair and the skin. In the area of the forehead and on the temple, we make a smooth transition between the hair and the skin. This is necessary for the shadow effect. The edges of the hair need to be smooth into the skin area as well as into the surrounding background. To create the atmospheric effect of the picture we don’t need any sharp borders between the objects on the canvas.
Use your virtuosity to paint the girl’s hat. The head-wear has feathers that can be simply marked rather than precisely painted. The loose style will keep the picture fresh and flowing picture. Don’t be afraid to express yourself freely. You won’t make many mistakes when painting such items. You’d better be brave and fast in this case.
Dark paint is used for the garment. It’s better to keep no visible border between the hat and the hair. Also, feathers can merge visually with the grey background. This will make the feathers light and semi-transparent.
At a session we have achieved great results using the alla-prima technique. We were painting at one go, wet on wet, the complete under-painting of the girl’s portrait.
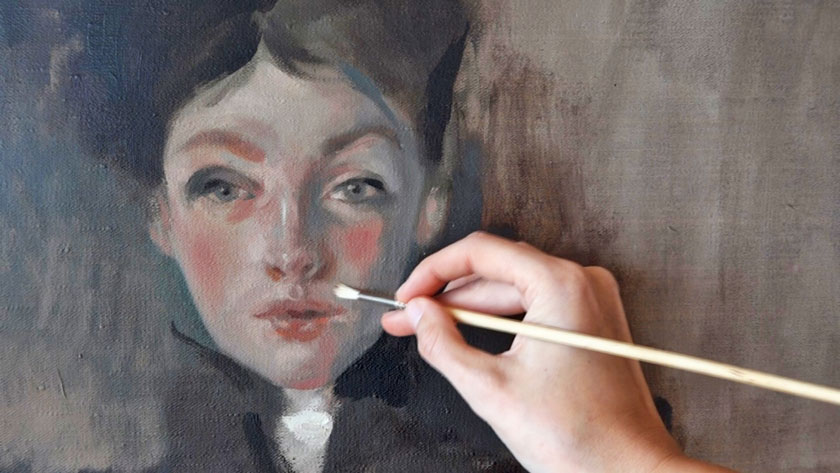
The oil paints are still wet so we alter the colors by adding the necessary nuances and making the most of the colorful and picturesque effect.
At the same time we should keep the color palette limited to the few main mixes of colors. The advantage of this technique is that the paint, being wet, can be manipulated as you wish and the colors can be easily mixed with each other right on the canvas.
The fine-tuning of the colors depends upon the speed you’re painting at. It can take you the whole day to get to this stage or just a few hours. Don’t be afraid to split this session into several sub-sessions during the day. The length of the session depends not only on your previous experience and skills level, but also upon you mood and painting conditions.
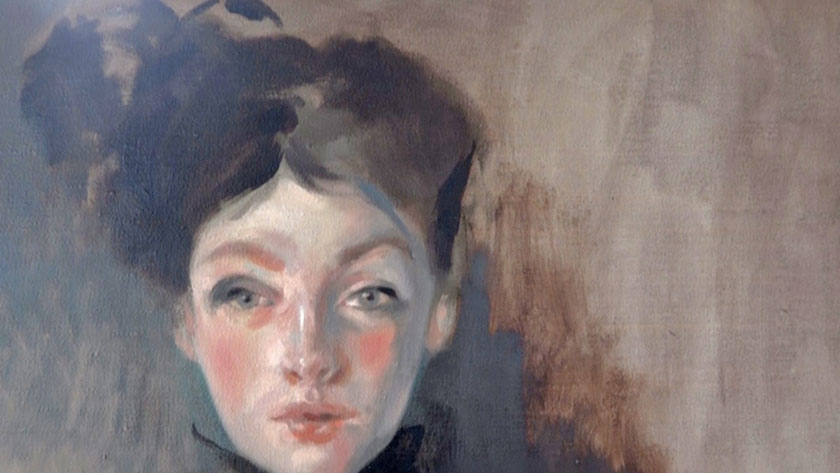
The final touches are applied to the portrait. Highlights will bring the portrait to the end result we are after.
It’s up to you when stop painting the portrait. The result achieved by now is good enough to leave the portrait as it is. However, if you want to keep on working on the portrait you should bear in mind that the freshness of the picture is as important as the likeness of the sitter.


