Art Lesson 46, Part 4
Discover how to make a Portrait Drawing in Flemish Style
Learn how to paint like the Old Masters!
Old Masters Academy Online Course
Self-study, self-paced online video courseLifetime membershipOne-time payment: $487Enroll Now!Personal Tutoring online + Online Course
Unlimited tutoring by the Academy teachersLifetime membershipOne-time payment: $997Enroll Now!« Back to the Art Lessons List
How to Do Shading with a Pencil
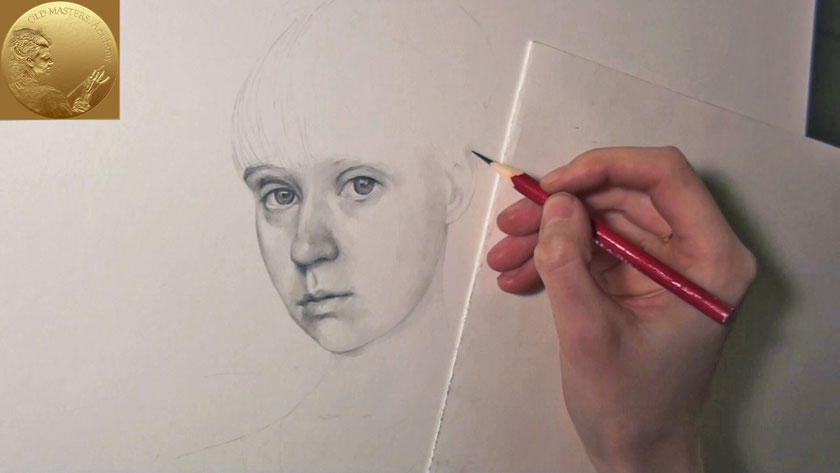
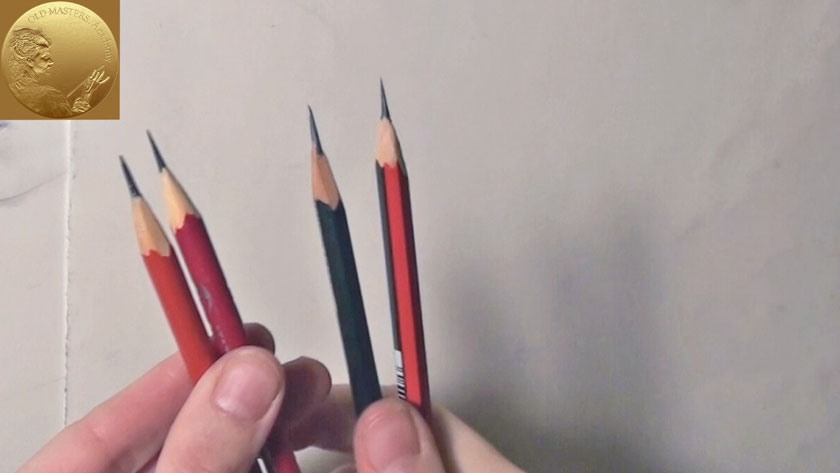
There are certain things you should avoid in classical shading. It is very important to use pencil correctly. You should draw with strokes, not just scribble the paper. Do separate stroke after each stroke. Only following this rule you will avoid damaging the paper and will be able to control the evenness of the shading area. If you are shading without taking off the pencil from the paper – your drawing will end up with glossy patches. When you are using hard pencils applying wrong pressure without making separate strokes you may end up with damaged paper surface.

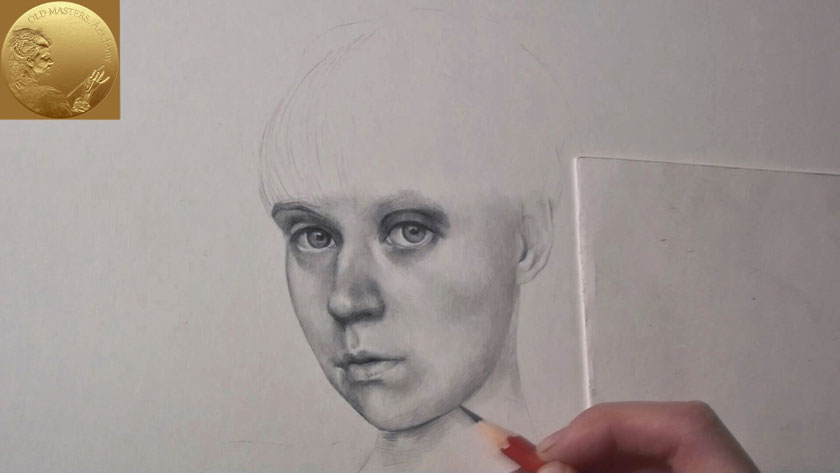
Working on a cheek you can use simple stroking style– just apply parallel strokes with different lengths. Follow the form of the cheek. There are no set up rules what kind of strokes you should apply for every particular shape; you can improvise as you draw. However, be selective in your improvisation if you would like to get closer to the old masters results. Shading in with star shaped strokes or with curled strokes would be too much. It will be extravagant without any doubts, but completely unsuitable for traditional drawing. Word “traditional” here doesn’t imply boring and outdated. There is the reason why the greatest European masters were keeping the same drawing techniques with very little variations for hundreds of years.

Shading lines should never be drawn backwards and forwards from left to right (for right-handed artists), except possibly where a mystery of shadow is wanted and lines are being crossed in every direction.

Feel free to rotate the drawing as required during the work. Comfortable drawing position will help to make smooth and precise strokes. You can turn the drawing 45-degree when drawing lower part of the chin; it will be easier to follow along the form of the chin and the neck. There is a reason for drawing these parts in such style – long parallel strokes following the natural outline of slightly visible wrinkles makes drawing more naturalistic.

The cheek has more complex construction that it seems at the first glance – In bare outlines the whole head is an irregular sphere. However, the cheeks are not just simplified semi spheres. Looking at a shape of a cheek you may guess what bones and muscles determine the shape of face parts. In ideal way you should scrutinize your model from closest distance and if model agrees then to grope her or him to understand the form on tactile level. It’s important to understand how cheekbones compose the cheeks shape. In this portrait the face has rounded form so cheekbones are not very pronounced. Some faces have well-defined chiselled cheeks and cheekbones – this is true especially for skinny persons.


