Art Lesson 46, Part 3
Discover how to make a Portrait Drawing in Flemish Style
Learn how to paint like the Old Masters!
Old Masters Academy Online Course
Self-study, self-paced online video courseLifetime membershipOne-time payment: $487Enroll Now!Personal Tutoring online + Online Course
Unlimited tutoring by the Academy teachersLifetime membershipOne-time payment: $997Enroll Now!« Back to the Art Lessons List
How to Draw Facial Features
It’s time to start a drawing; there are many ways of doing it. Each way depends on whether you are going to do drawing in masses or more linear, contrast or tonally. Each system and each drawing school has their own approach. You don’t have to stick to one method. You may follow various methods and allow to experiment at the same time. Only one suggestion – don’t be mechanical and unemotional towards your creative work!
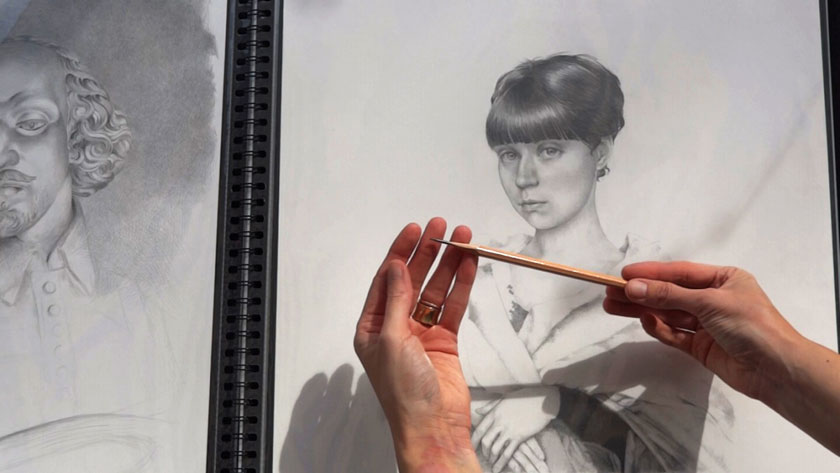
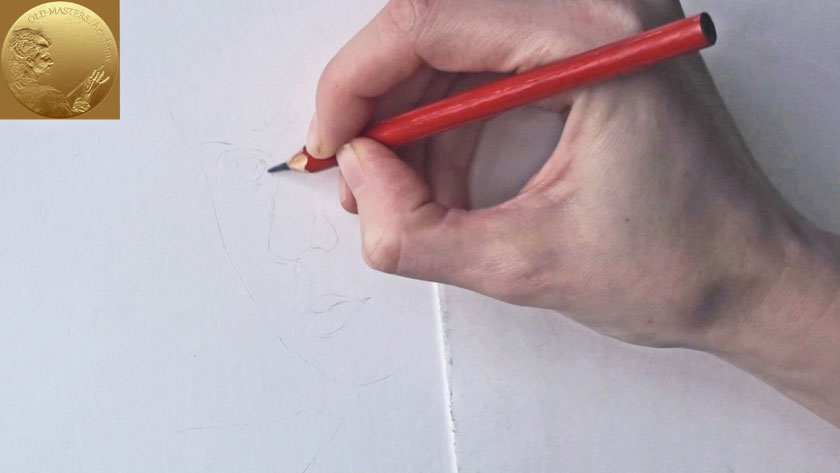
In front of you the outline on good quality paper. Now you are starting your journey towards perfect drawing. All ambiguities concerning the composition should remain on you draft. Now for drawing process you might either use photo of yourself; or as the artist did it – use mirror to look at.

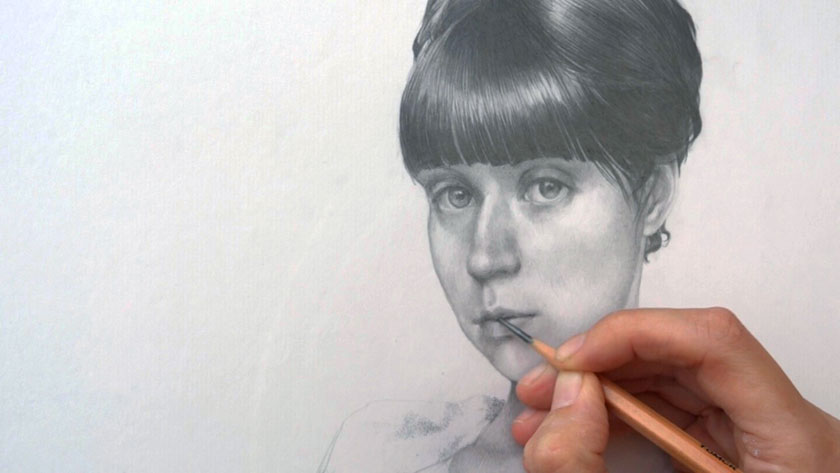
At the beginning you may just slightly shade areas where will be the darkest parts of the face. Use contour of face features as starting point from where to make the strokes. To begin with use hard pencil. With light thin strokes go along the main curves filling slightly the darkest places on the face constructing the shape.
Depending on the place you are drawing the strokes might be long or short. For example along the cheek and the length of the nose you may apply long strokes. Under the nose at the place where will be cast shadow going with short strokes. Around the eyelids, at the edges of lids more effective would be going with short strokes.

Don’t try to finish each part at once, let’s say if you start with an eye; don’t try to perfectly finish if before moving to other parts. It’s not a professional approach. Make drawing gradually layer after layer, working simultaneously on different parts of the drawing. In this way you have better control of the shading process. Gradual approach will also help you to avoid over-darkening the shades when it’s too late use an eraser to recover the drawing.
Use hard and soft pencils for cast shadows. Don’t do cast shadows with soft pencil at once from the beginning to the end. Build-up layer-by-layer applying hard pencils first, and only after that apply soft ones. Choose HB or even 2B for dark places. Another advice is don’t do dark and thick strokes – it might end with mess; unless you are skilled virtuoso. In places already slightly shaded – under nose, at eyes area and on lips emphasize depth gently with light strokes.

Drawing the lips is a difficult task. When you are looking at yourself in the mirror try to have the same lips position. Study carefully lips form. Are the lips tightly closed or half closed, how upper lip overlaps the lower one? Decide the right lips position and start shading to give them correct form. In diffused light lips appear as gentle lighted shapes. The aim is to reflect it in your drawing art piece. The accurate lips corners’ placing is very important – slightest miscalculation and the expression of face might be deformed.
A little bit about organizing your working place. If you are drawing small size artworks or doing thumbnail sketches its fine to do it on a horizontal table surface. When you are creating bigger drawings its better to have your work directly in front of your eyes. Placing big drawing on a table surface will present distorted angle. Use special table easel or any other workstation, the main requirement for this equipment is to have an adjustable angle so you can select your preferred working position. Nowadays you can easily find such easels at many art suppliers’ shops.
When the main accents in the face are done, you progressively continue to structure the forms. The face has a complex shape construction. It’s important to work from live model or using your own mirror image. Examine carefully the face shape; study the eye from different points of view to understand its structure – how deep eyes are placed in eye-sockets; how massive or slender upper lids are; look at lower lids, some people have extensive bugs under the eyes and smile wrinkles.
We used to think that the eyeballs are white; and they are white. However, consider them as a geometrical form – they have form shadow, cast shadow from upper lid and highlights. For stroking eyeball use hard pencil and stroke gently.
You can choose your own rhythm and pattern of pencil strokes. The nose is very three-dimensional. Light doesn’t lightening it evenly. Shade slightly the sides of the nose and make sure that you are leaving highlights zone untouched.


