Art Lesson 46, Part 5
Discover how to make a Portrait Drawing in Flemish Style
Learn how to paint like the Old Masters!
Old Masters Academy Online Course
Self-study, self-paced online video courseLifetime membershipOne-time payment: $487Enroll Now!Personal Tutoring online + Online Course
Unlimited tutoring by the Academy teachersLifetime membershipOne-time payment: $997Enroll Now!« Back to the Art Lessons List
How to Draw Hands
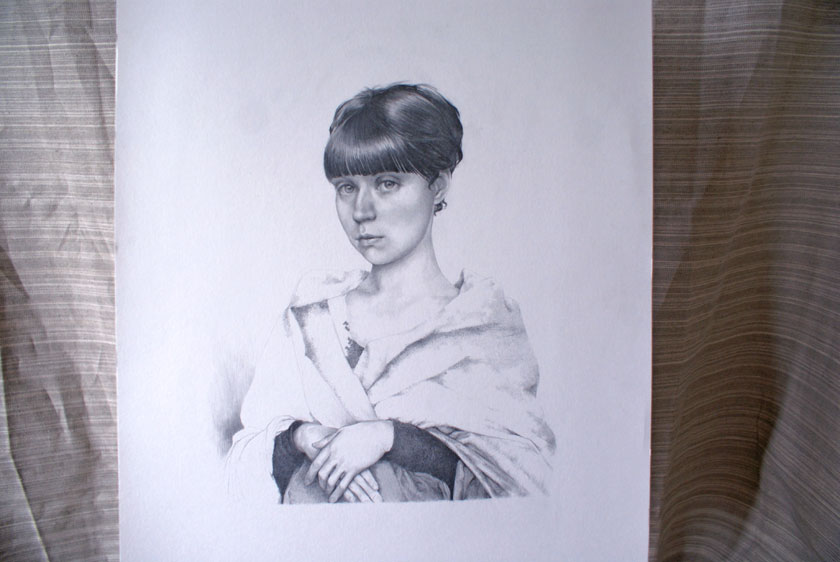
This portrait is inspired by the old masters of northern renaissance. Those masters were always paying big attention to the hands of people they portrayed. Hands like the faces are unique for every person. Sometimes the price of the drawing or painting was calculated on a basis how many faces and hands master depicted in masterpiece.

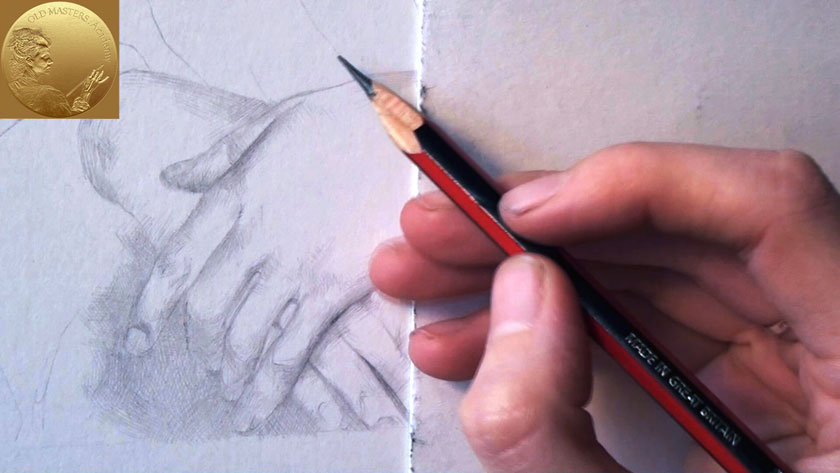
You can begin drawing the hands using hard type of pencil, H2 for example. Make sure the pencil has sharpened tip for making precise, accurate strokes. Combine crosshatching with parallel strokes along the length of each finger.
Dorsal aspect of the hand is wide and has big flattish surface. It’s placed in a position that the light is falling directly on a dorsum of the hand. There is no contrast cast shadows as the light is gently diffused.

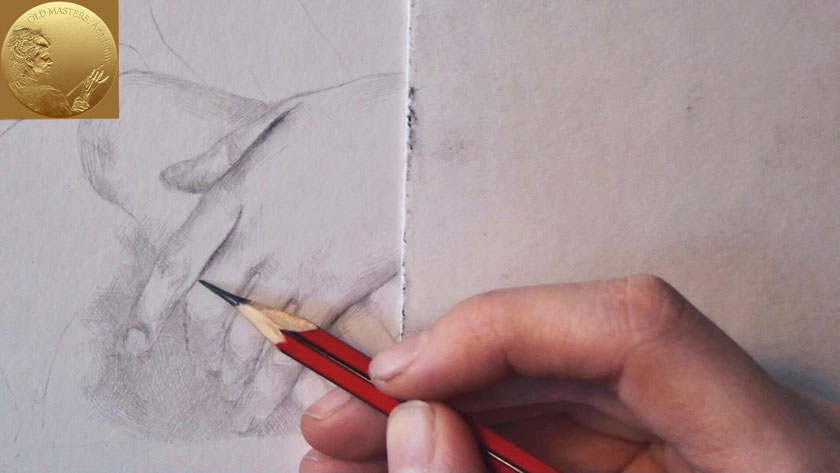
Do crosshatching in short confident strokes. When crosshatching, you can make a row of parallel strokes in the same direction. It might be 3 to 6 strokes at a time if you are working on small area; on bigger objects go along the form with more strokes. Then change the angle of the stroke and crosshatch in different direction. You can crosshatch in any direction. Depending on how many directions of strokes you are choosing will reflect on the pattern of you shading – You can make two-directional crosshatching. By adding one more direction, you can change the pattern of your shading. You can also use the shading style borrowed from the etching technique – crosshatching in all directions – vertical, horizontal, and both diagonal.
On this example you can see the linear style prevail. The figure’s outline is used as the starting line for parallel strokes. Stroke lines are emphasized; also, special care is taken of the smooth cast shadows from overlapping fingers. As you can see crosshatching goes in two unusual directions – along the fingers’ length and across the fingers itself – all to add more character to the form. More than one type of strokes makes the drawing aesthetically pleasing. Think of the pencil-work as a ‘speech’. Make your artwork talk and be not too silent or chatty.

The cast shadows smoothly and gradually extend on clothes. So you can merge hands in shade with the tone of clothes. Now you can observe the difference in drawing of two different textures close to each other. There is one small secret in drawing art – to create stylistically rich drawing, use exciting language of lines – make neighboring objects pronouncedly different. At the end of this video we will summarize all our finding and results achieved in the process; and will have the opportunity to compare the effects of shading methods variations.
There is vivid illustration of crosshatching techniques – Rotating the paper you will make your work easier, without twisting your arm in uncomfortable position. This method is very close to etching technique – you are doing lines vertically, and then overlap them with diagonals and horizontals strokes. This area for filling up allows making series of long strokes, with frequency from 6 to 10 strokes in a row.
The dorsum of the hand and wrist has simplified due to illumination by diffused light. You may leave this area as is only adding the tone at the edge of the hand and forearm. The closer to the edge, the darker tone should be. In such way you are creating the illusion of 3D space.
The soft 2B or 4B pencils are great for achieving better result in making gradual tone from barely visible to sharp and dark. Against the background of the light thumb the dark boundary of the dorsum looks really 3-dementional. The same applies to other fingers as well.


