Art Lesson 7, Part 3
Learn the process of Preparing Supports for Oil Painting
Learn how to paint like the Old Masters!
Old Masters Academy Online Course
Self-study, self-paced online video courseLifetime membershipOne-time payment: $487Enroll Now!Personal Tutoring online + Online Course
Unlimited tutoring by the Academy teachersLifetime membershipOne-time payment: $997Enroll Now!« Back to the Art Lessons List
Preparing Supports for Oil Painting
Now our canvas is ready to be Sized and Primed. If you apply an oil paint directly onto a raw canvas, the paint will soak into the fabric and pass through the fabric; and in the long run will cause the fabric to deteriorate.
On this schematic illustration, we can see exactly what we are going to do.
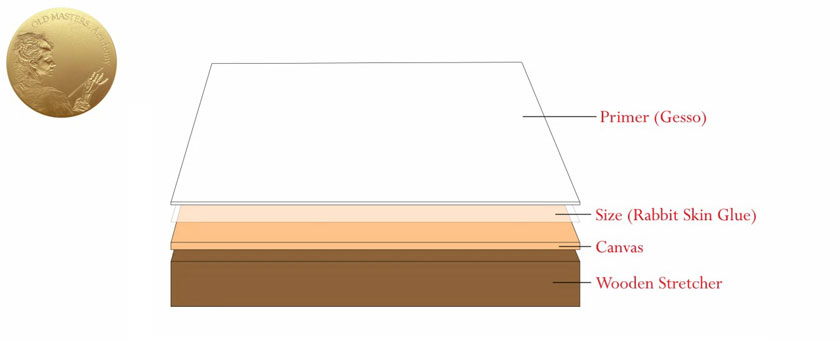
This is our support – in our case it is a canvas, but it could be a canvas board or a wooden panel. We will size the canvas with glue and then prime it with two or three coats of Primer.
Let’s see the process in detail: We have to size the canvas before priming. For this purpose, we need Rabbit Skin Glue.
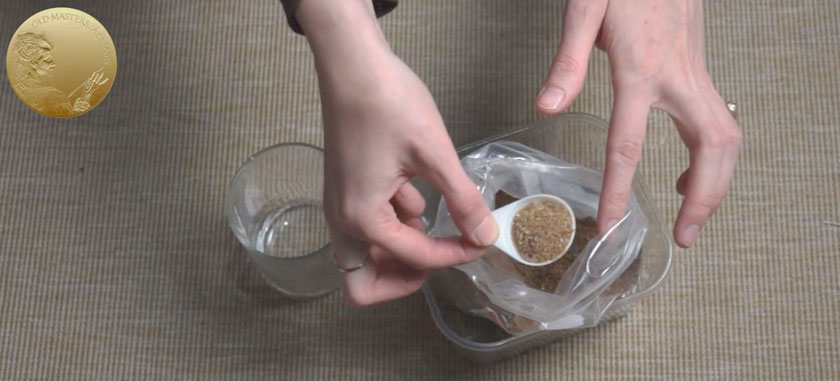
Traditional canvas sizing show excellent adhesion and barrier properties. For centuries, artists have used it to protect raw canvases from the disintegrating effects of oil paints. To prepare the glue, we first need to to soak the glue in cold water in the proportion of 1 portion of Rabbit Skin Glue to 10 portions of water. It takes about 2-3 hours until the Rabbit Skin Glue gets swollen and to completely dissolve. It is helpful to stir the mix from time to time. I usually leave Rabbit Skin Glue in water to soak overnight. Now we have to slowly heat the soaked glue in an improvised double boiler. On the bottom of a pan, put a soft piece of fabric. Place your pot of dissolved Rabbit Skin Glue on top of the fabric.
Pour cold water into the pan, so that it covers 3/4 of your glue pot. Heat the mixture slowly, till the Rabbit Skin Glue becomes fluid. If the water in the pan boils, take the pan off the stove; the most important thing is to prevent the Rabbit Skin Glue from boiling. Put your finger into the liquid glue, now rub your fingers – they should stick to each other for a while, but not strongly; then this stickiness should end. If your fingers stick too strong and this stickiness remain for a long time – you have to add more water.
Important: Do not boil Rabbit Skin Glue.
If boiled, the Rabbit Skin Glue will lose its adhesive properties. Keep a pot with Rabbit Skin Glue in hot water while you size the canvas. Once the glue cools, it becomes jelly-like and you need to put it in hot water again. Brush this mixture quickly onto the canvas, allowing it to penetrate the weave of the fabric.
You have to wait several hours before your canvas becomes dry. Now you can use a fine sandpaper to remove any irregularities on the canvas surface. Apply a second thin layer of sizing. Do not sand the second sizing. Two thin coats are enough to properly block oil penetration into the fabric. Rabbit Skin Glue will tighten the canvas as well as make it stiff which is helpful for sandpapering and priming.
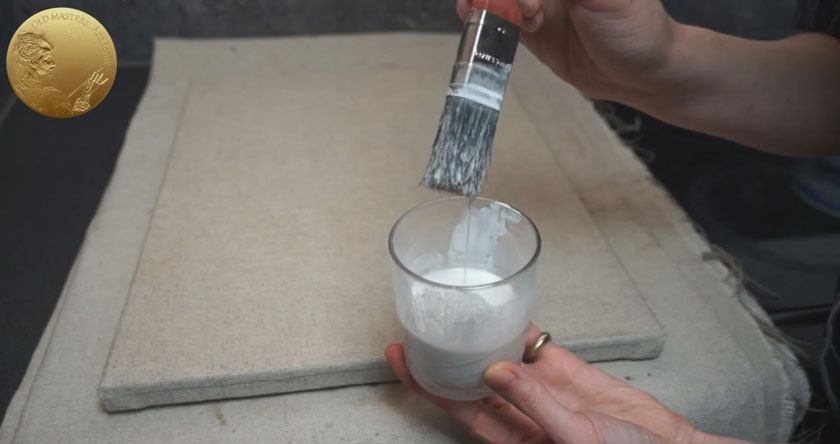
It’s time to prime with Gesso. Such readymade Acrylic Gesso will satisfy our needs entirely.
We have two options – to use thick Gesso as it is from the pot or add water to make it more fluid. Apply Gesso with a Wide Flat Brush in thin layers. The first layer should be thin (1 part Gesso and 2 parts water). Gesso should be applied with a brush in one direction of the weaves of the canvas.
After the first layer is completely dried, apply the next one, cross coating the first layer. The second and the third layers of Gesso should be more dense – three parts Gesso to one part water. If you apply undiluted Gesso straight from the pot, it would be enough to apply just two coats of Gesso. If you dilute Gesso with water, as I usually do, three or four coats are required.
Four thin coats of primer work much better than one or two thick undiluted coats.
Gesso provides excellent “tooth” and oil paint will perfectly stick to its surface making a unified layer. The rich white surface allows maximum color reflection which is crucial in our multi-layered painting technique. Before painting, we have to allow the primed canvas to dry completely for 24 hours. The Acrylic Gesso is water-based and we can paint over with other water-based media like Egg Tempera or straight with Oil Paints.
Important: Never use Oil Primer
In the middle of 19th century, when connection with Old Masters’ methods was completely lost, many misleading techniques of painting and priming methods occurred. Artists started to use Oil Based Primers, which caused significant damage to paintings and dramatically reduced the age of many works from that time. Most of the works painted over Oil Primer, adhere to the ground very weakly, and some paint is already falling off. The fact is, that the Oil Ground has a glossy surface that does not absorb oil from the paint, thus painting layers are very poorly attached to the oil ground, and after sufficient drying time, it can easily separate from it. The connection between the ground and a paint layer is unstable, especially in a multi-layered impasto painting.
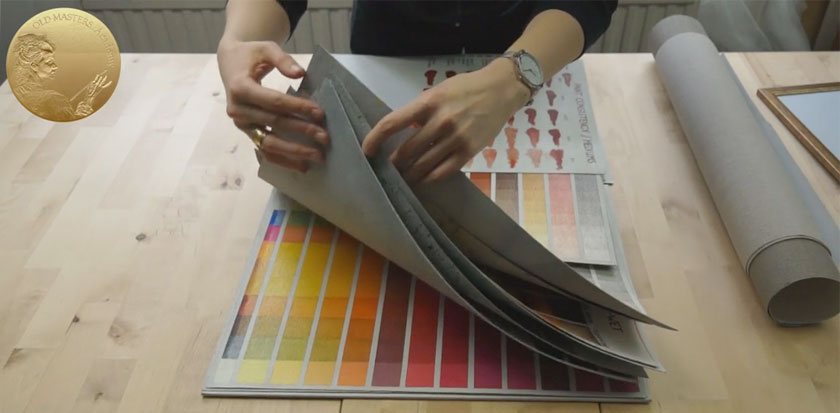
Well, let’s see where we are, what our conclusions about painting supports: Paper for Oil painting, Unstretched canvas and canvas boards are suitable for: painting exercises, Color Theory tests, sketches, studies, preliminary brush drawings – in other words, for secondary purposes.
Pre-Stretched Canvas – ready to paint canvas, that we can acquire from any art shop, should only be used in cases when we need to paint, but there is no time and inappropriate conditions to prepare the canvas ourselves. Apply an extra coat of Gesso over it. Self Made Stretched and Primed Canvas – the best option for our primary artworks.
What you need for the task?
- Stretched and Primed Canvas
- Wooden Stretcher Bars and Cross Braces
- Canvas, preferably Linen. Cotton may also suit if you like it
- Scissors
- measuring tape
- Staple Gun and Staples or Rubber Hammer or usual Hammer and Carpet Tacks
- Rabbit-Skin Glue
- Gesso
- Wide Flat Brush for decoration works
- Sandpaper