Art Lesson 28, Part 5
In this lesson, you will discover the process of Varnishing an Artwork
Learn how to paint like the Old Masters!
Old Masters Academy Online Course
Self-study, self-paced online video courseLifetime membershipOne-time payment: $487Enroll Now!Personal Tutoring online + Online Course
Unlimited tutoring by the Academy teachersLifetime membershipOne-time payment: $997Enroll Now!« Back to the Art Lessons List
Varnishing an Artwork
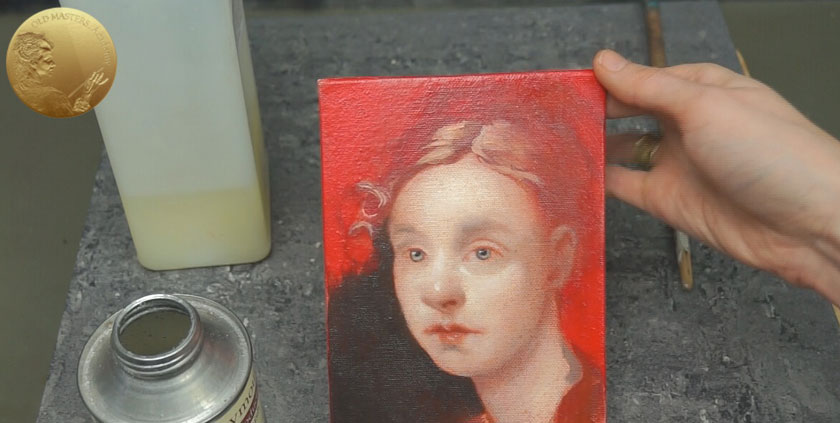
This is how our paining looks after a long time of drying. Approximately 14 months have passed since this study was finished, and now it’s ready to be varnished.
The process of varnishing will be exactly the same as the process we saw before. Here is our Varnishing Brush and Satin Picture Varnish. We place the canvas flat on the horizontal surface and coat the canvas with varnish, moving the brush in a parallel direction.

After about 15 minutes, we can place it face inwards vertically, against a wall, to dry overnight. This protects the canvas from the dust.
When the first coat of varnish is dry, we can varnish it a second time, but now at right angles to the first.
This is how the painting looks before varnishing; and how it looks after being varnished. The Varnish affects the painting positively; it restores the lost brightness of Colors and depth of Tones. Now, the whole surface of the painting looks even.


